Photoshop Tutorial - 3 Instagram Filters You Can Replicate

Instagram is as popular now as it was when it was released in 2010. One of the best features of Instagram is the simplicity of photo editing. With just a few taps, you can completely transform the look and quality of your photo and easily share it on all your social media platforms. I personally enjoy Instagram filters, but I also like the versatility and customization of Photoshop. For those of you who have never even opened Photoshop before, this can seem a little scary and overwhelming. in this post, I tackle 3 Instagram filters and provide easy to follow step-by-step instructions (w/ screenshots) for absolute beginners to follow along with.
Note: I am currently using Photoshop CC. If you’re using an earlier version, your screen might look slightly different.
Filter 1 - Clarendon
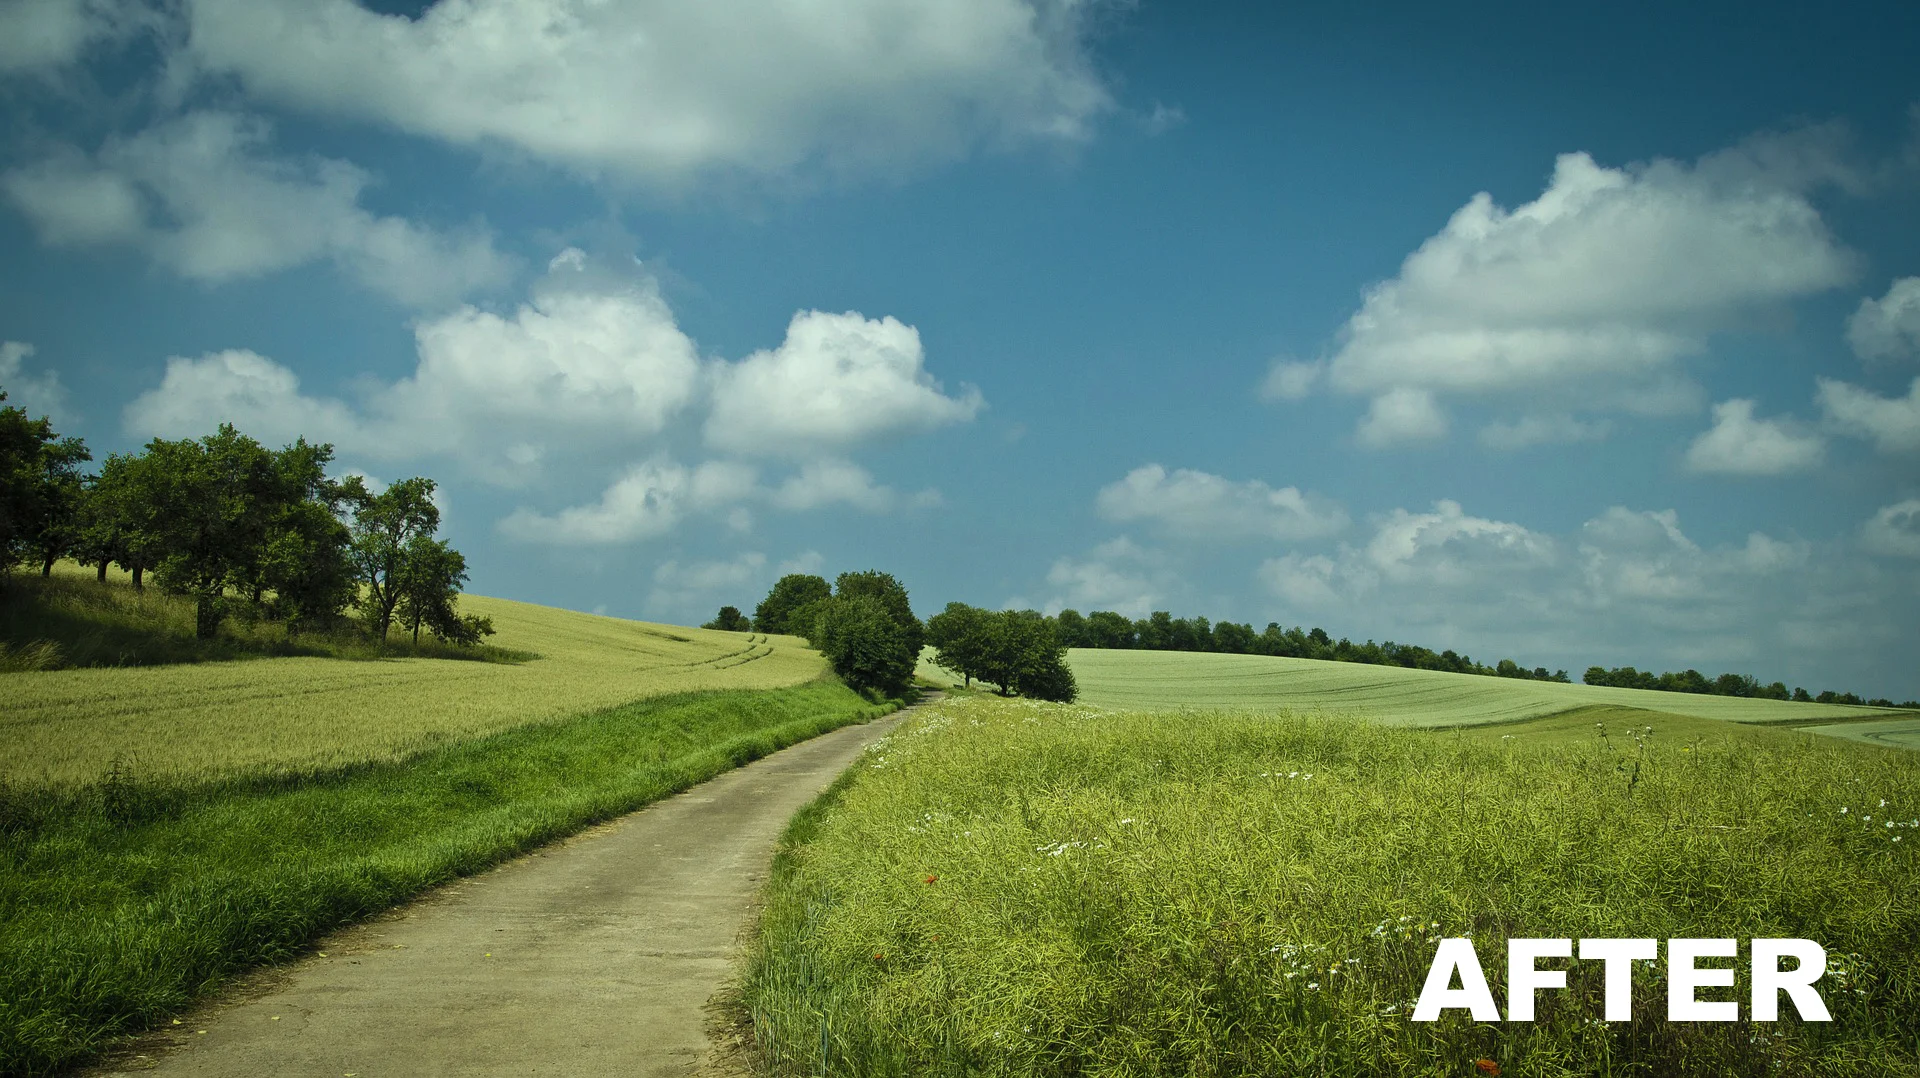
This filter intensifies shadows and brightens highlights in your photos.

Step 1 - Sample Accent Color
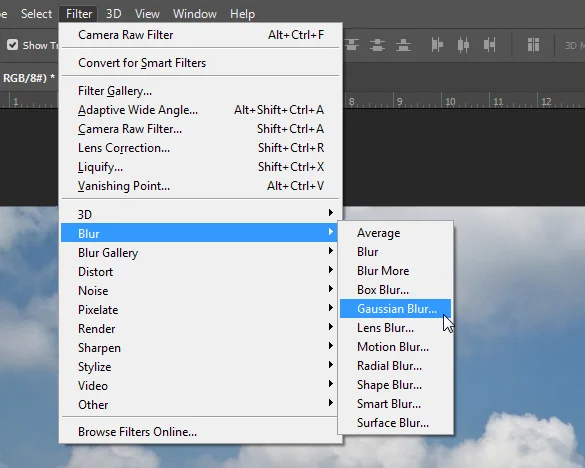
First, we need to find the dominant color present in the image. The best way to achieve is to completely blur the image. To do this, go to the top navigation and click on Filter>Blur>Gaussian Blur.
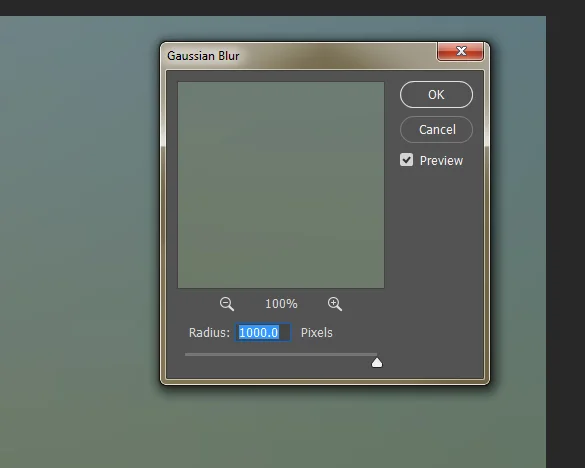
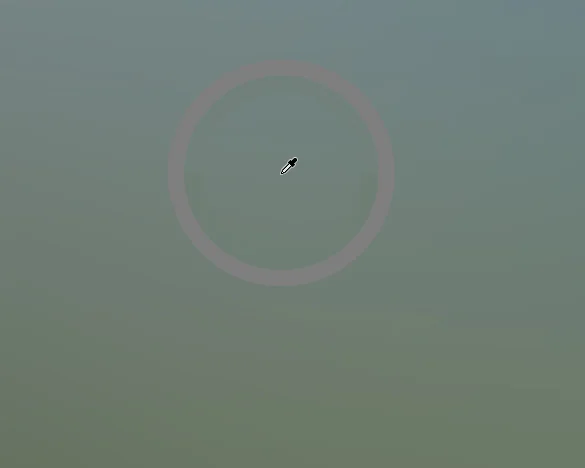
The Gaussian Blur window will open. Locate the Radius slider at the bottom and move it all the way to the right or 1000.0 Pixels and click OK.
Locate the "Eyedropper Tool" on the left-hand side Toolbar. Click anywhere on the image to sample that color.
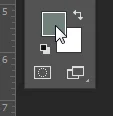
Looking back at the left hand Toolbar, you should notice two overlapping squares. The top square is the color you sampled. Double click the top square.
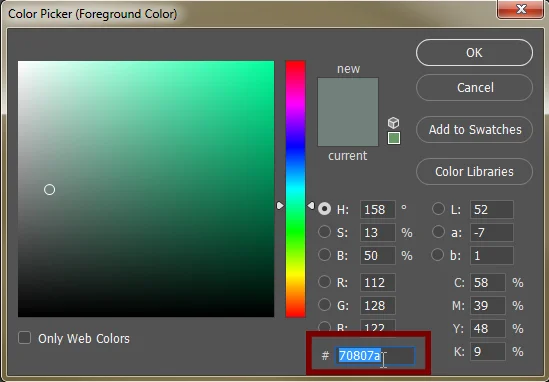
Copy the hex code at the bottom. You can copy it by pressing CTRL+C. Make sure to save this code somewhere, you will need it in step 2.
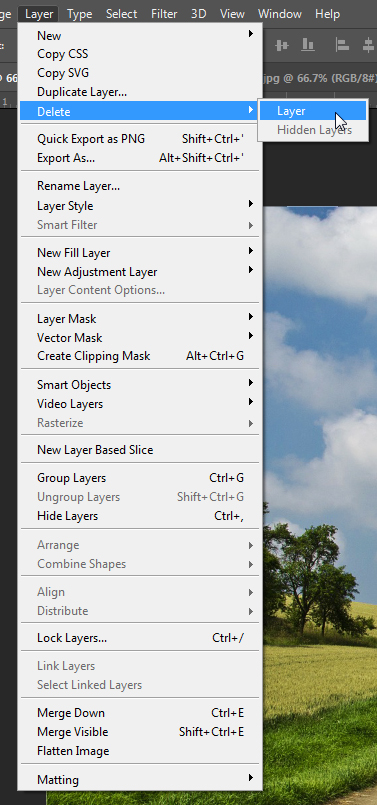
After this, you can delete this layer. To do so, go to the top navigation and click on Layer>Delete>Layer and click OK.
Step 2 - Add Sample Color
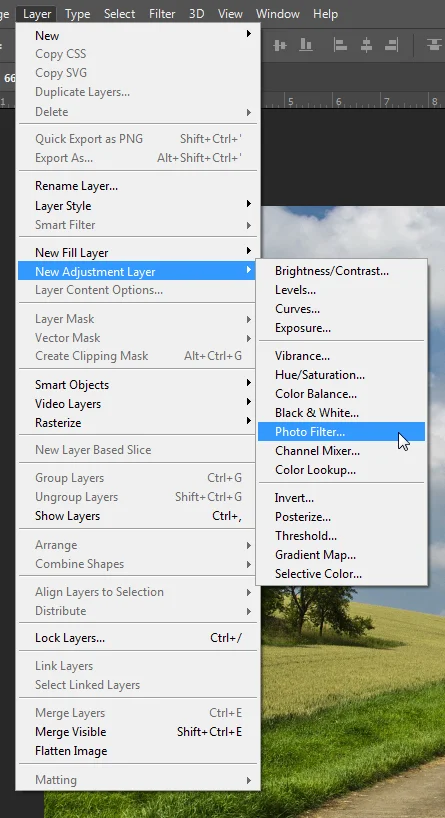
Go to the top navigation and click on Layer>New Adjustment Layer>Photo Filter.
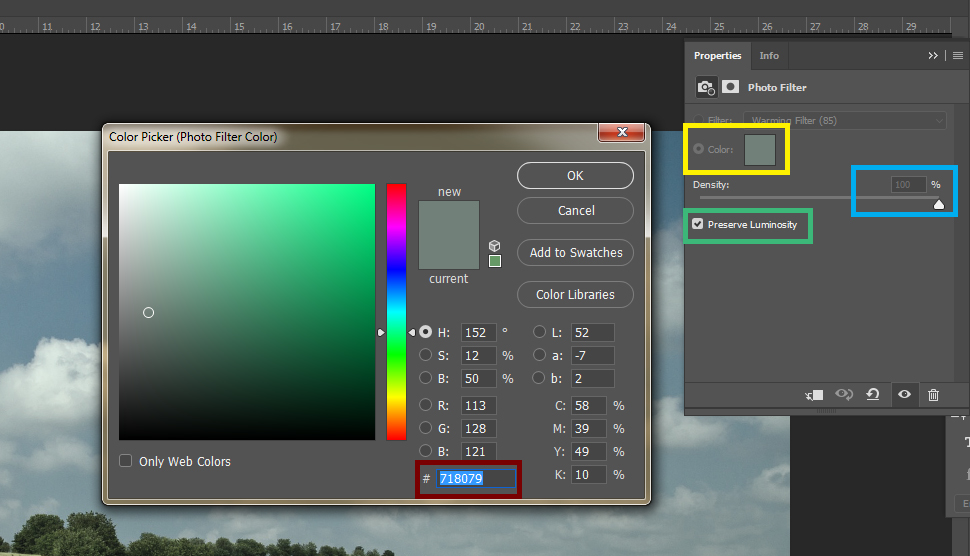
This is when the hex code you copied comes into play. Simply paste it directly into the hex color box you at the bottom and click OK. The properites panel should open (if not, you can open it by going to Window>Properities from the top navigation). Make sure your color is selected. Increase the Density all the way to 100% and make sure the "Preserve Luminosity" box is checked.
Step 3 - Increase Saturation
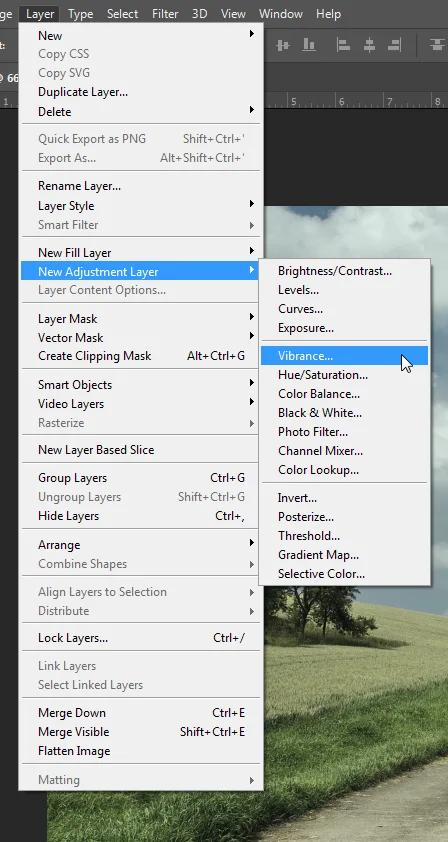
Your image probably looks a bit dull right now. This is where we fix that. Go to the top navigation and click on Layer>New Adjustment Layer>Vibrance.
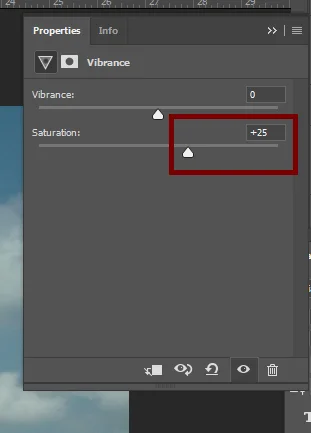
The Vibrance properites panel should open. Increase the Saturation anywhere from 10-30%. The amount of Saturation you want is completely up to you.
Step 4 - Putting on Final Touches
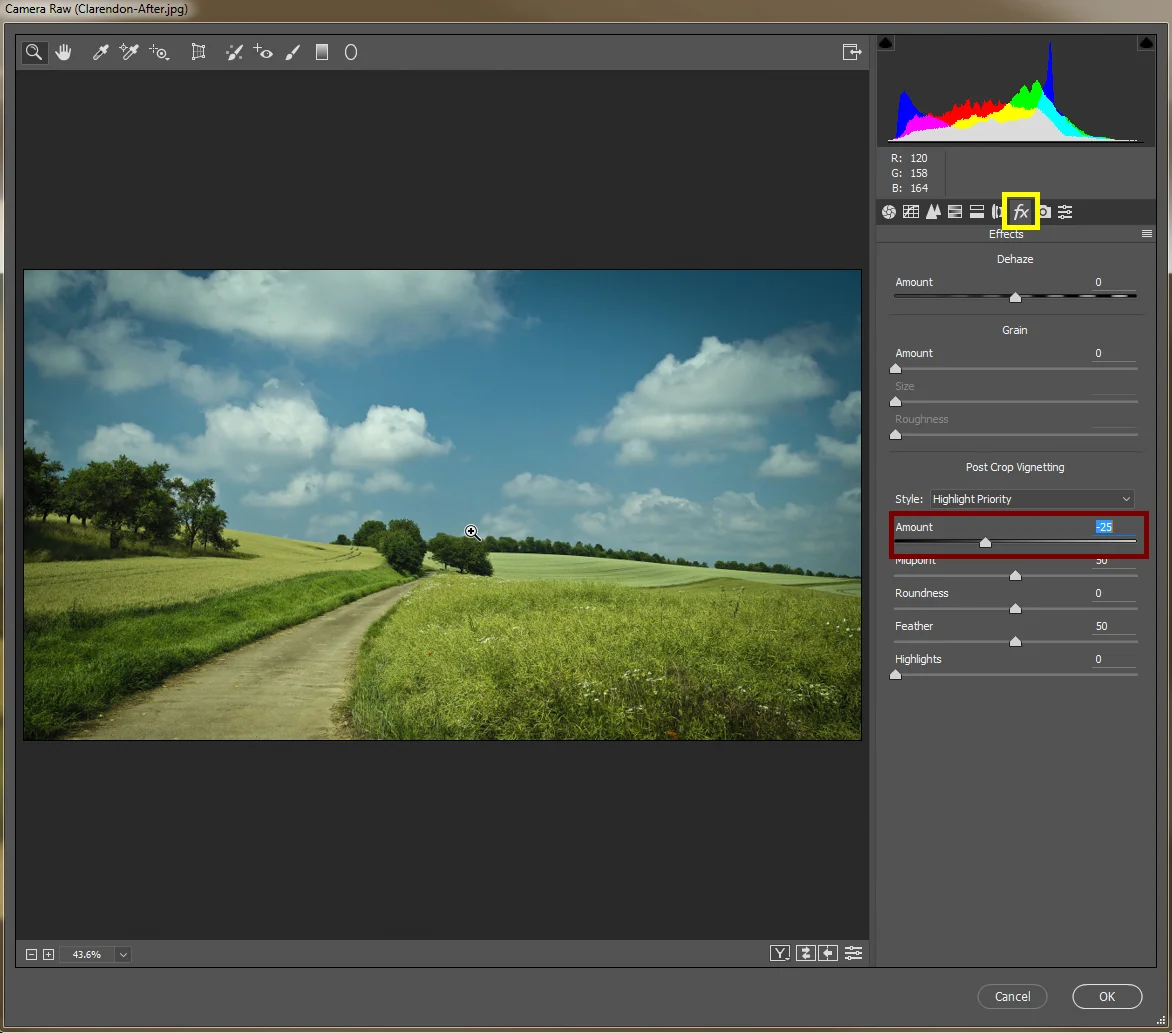
Finally, we're going to add a Vignette effect. Press CTRL+Alt+Shift+E to merge all your layers together. After this, head to the top navigation and click on Filter>Camera RAW Filter.
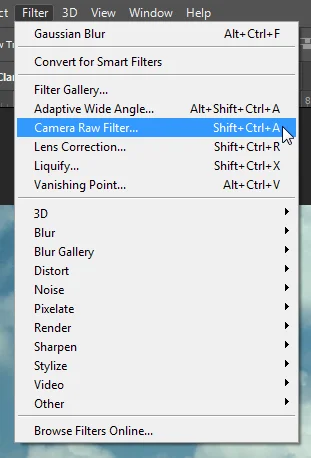
Click on the Special Effects tab [FX]. At the bottom under "Amount," decrease it to -25%. Again, the amount you want is completely up to you. Finally, press OK. This will add a very Instagram-y Vignette around your image.
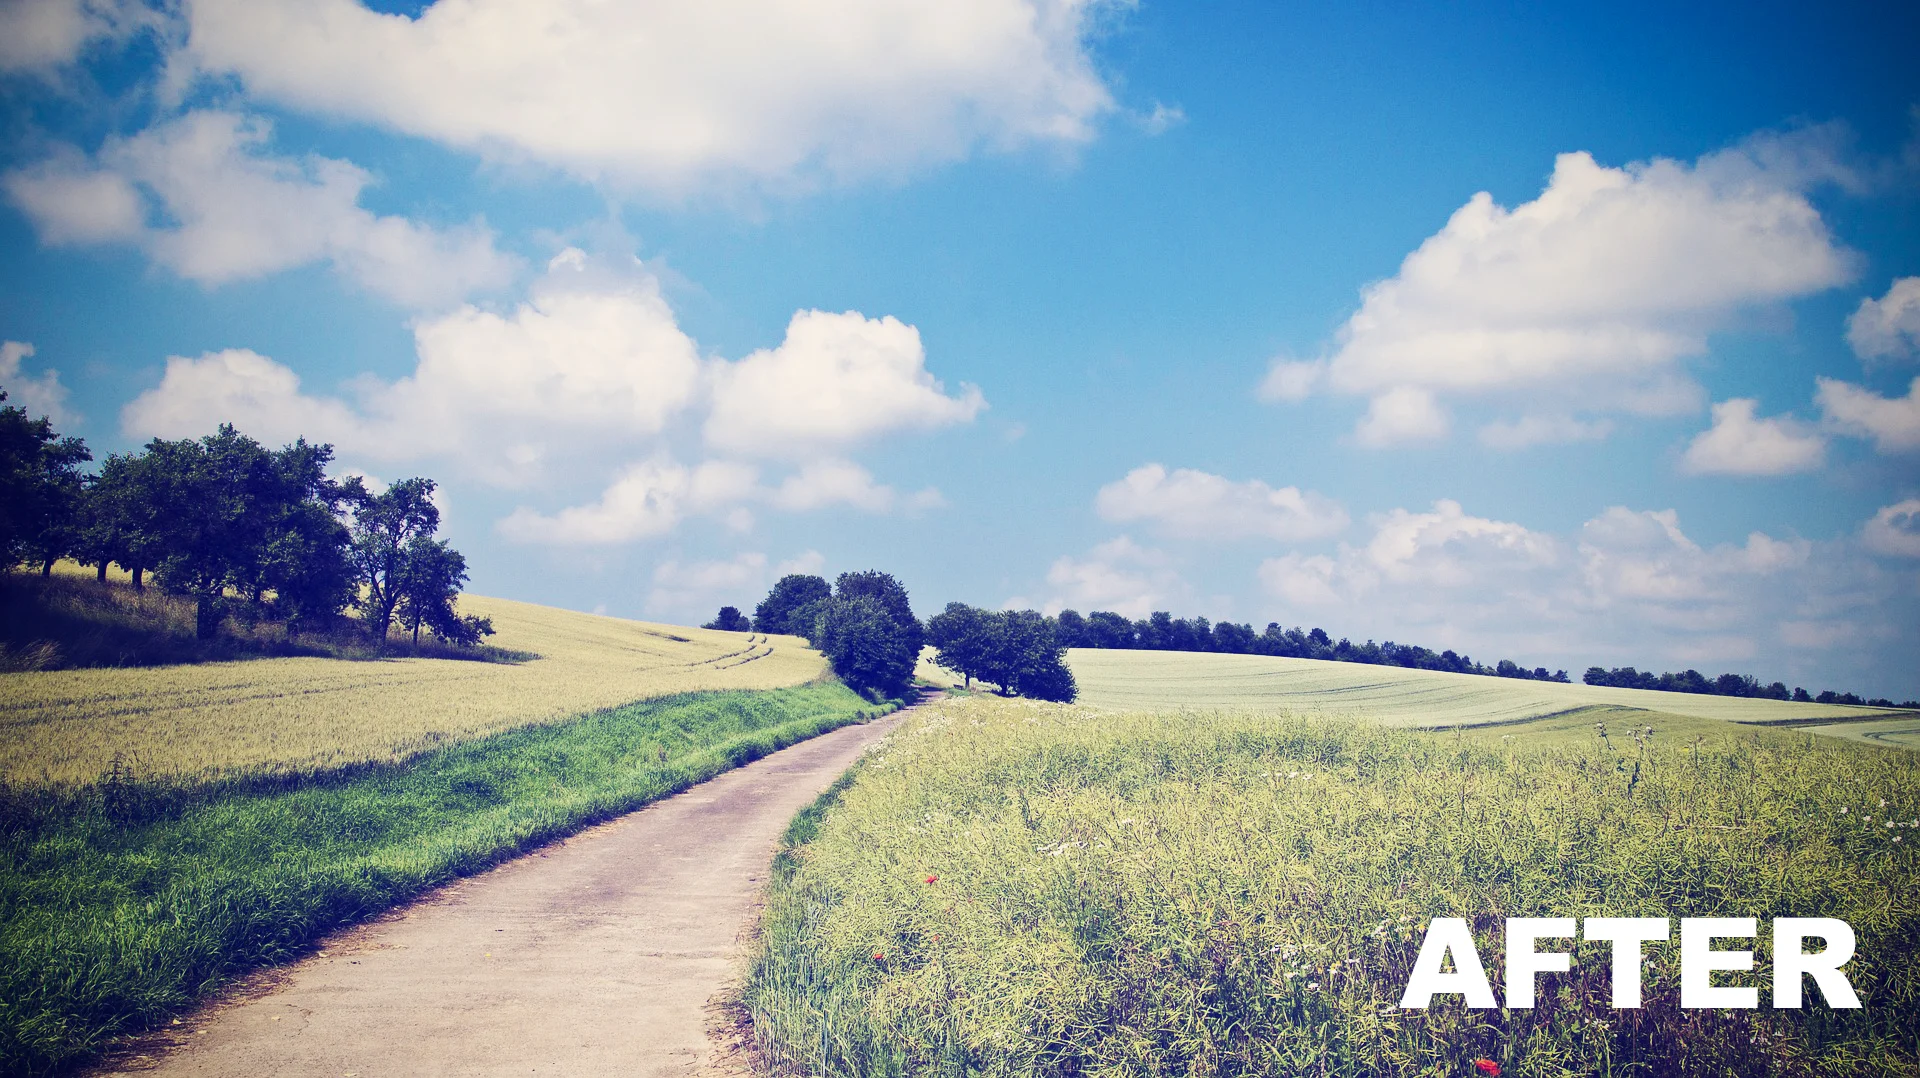
The Final Product
Voila! You're all finished! Here's the final image.
Filter 2: Amaro
This filter increases the exposure, giving the image an eerie 1960's film-like quality to it.

Step 1 - Increase the Contrast
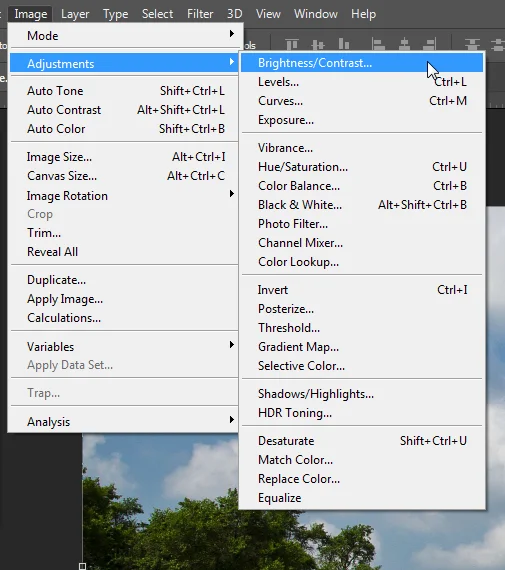
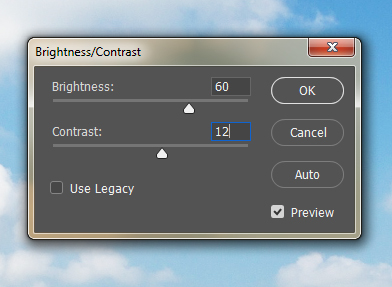
First, we need to adjust the Brightness/Contrast. Go to the top navigation and click on Image>Adjustments>Brightness/Contrast. Set the Brightness to 60 and the Contrast to 12 and click OK.
Step 2 - Add Solid Fill Layer
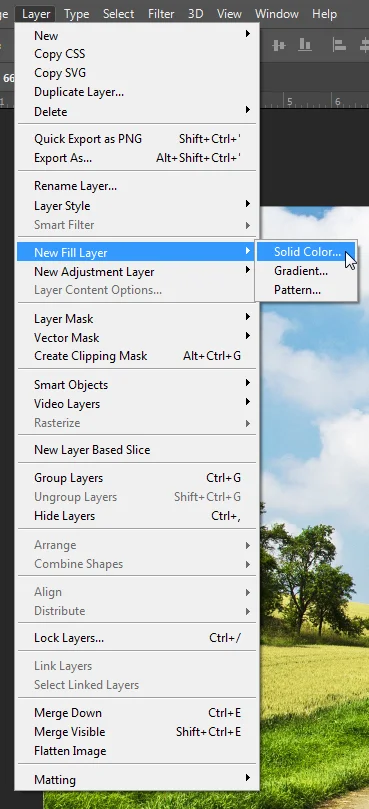
We need to add a solid color over our image. To do this, go to the top navigation and click on Layer>New Fill Layer>Solid Color.
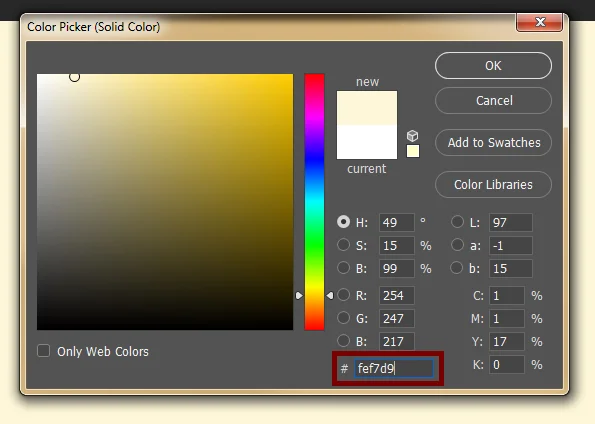
The color picker window should open. At the bottom next to the #, type in the following hex code: fef7d9 and click OK. This will add a pale yellow color over the entire image.
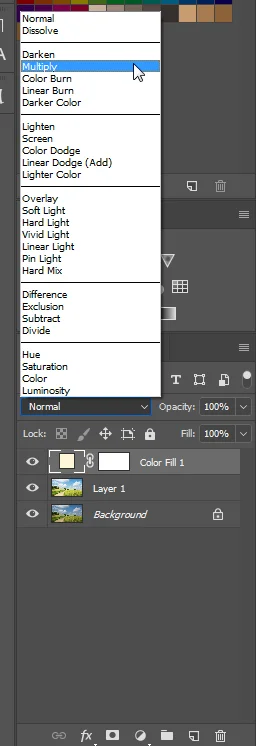
Now we need to change the blending mode. To do this, locate the layers panel on the right handside. Click the drop down menu and change it to Muliply. This will wash out your image with a light yellow color. This is exactly what we want.
Step 3 - Adjust Levels
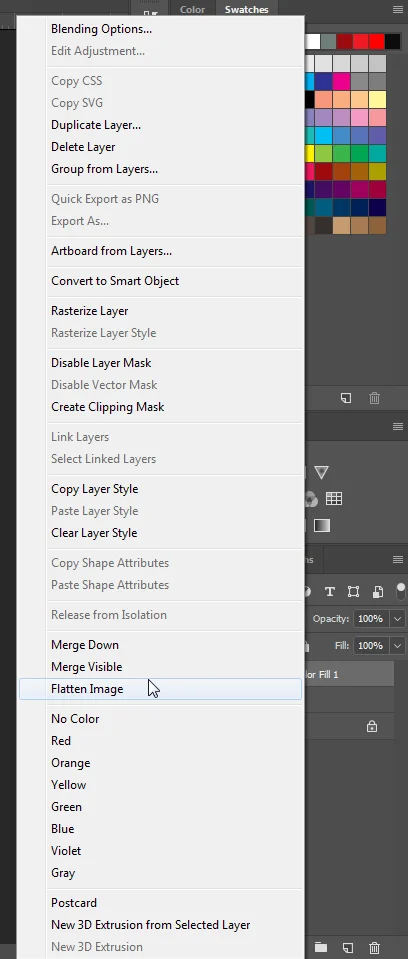
Before we continue, we need to flatten the image. Go to the layers panel on the right handside and right click on the top layer. A menu will pop up. Go down and click on Flatten Image.
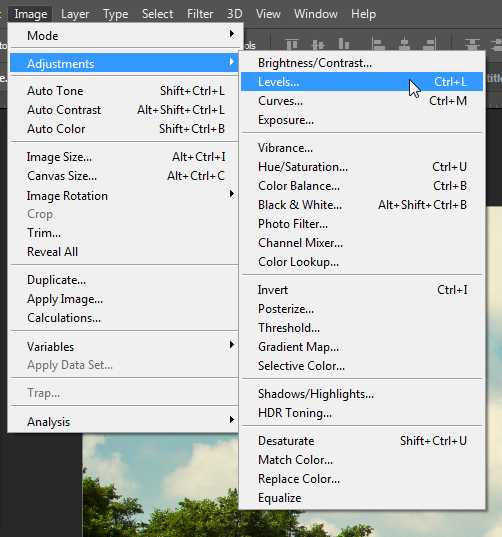
After you flatten the image, go to the top navigation click on Image>Adjustments>Levels.
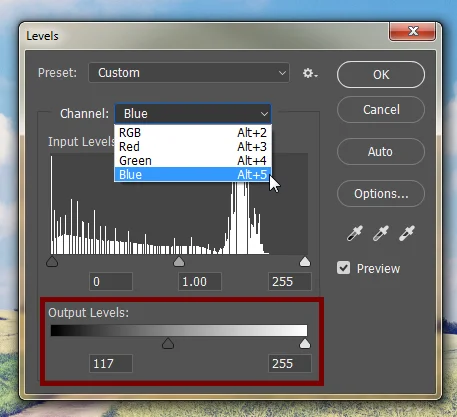
The Levels menu will open. Next to Channel, click on the drop down menu and click on Blue. Change the Output Levels at the bottom anywhere from 0 - 117. The amount of blue you want in your image is up to you. After you're satisfied with the amount of blue, click OK.
Note: Some of these values may need adjusting depending on your image. Feel free to play around with the contrast, brightness and color balance. These can all be located under Image>Adjustments.
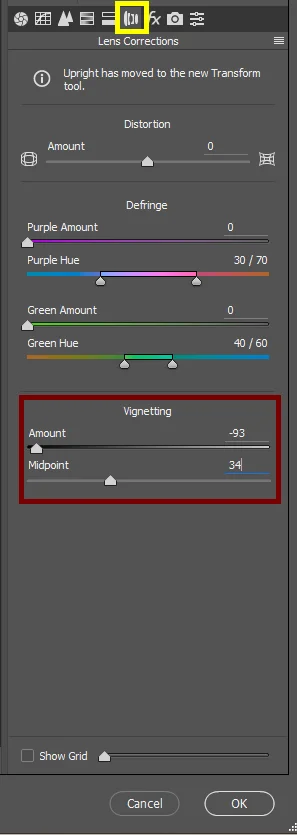
Finally, we're going to add a vignette around the image. To do this, go to the top navigation click on Filter>Camera Raw Filter.

Navigate to the Lens Correction Tab at the top (you will find this to the left of the FX tab). You should see Vingetting at the bottom. Adjust the Amount and Midpoint sliders until you're satisfied with your image.
The Final Product
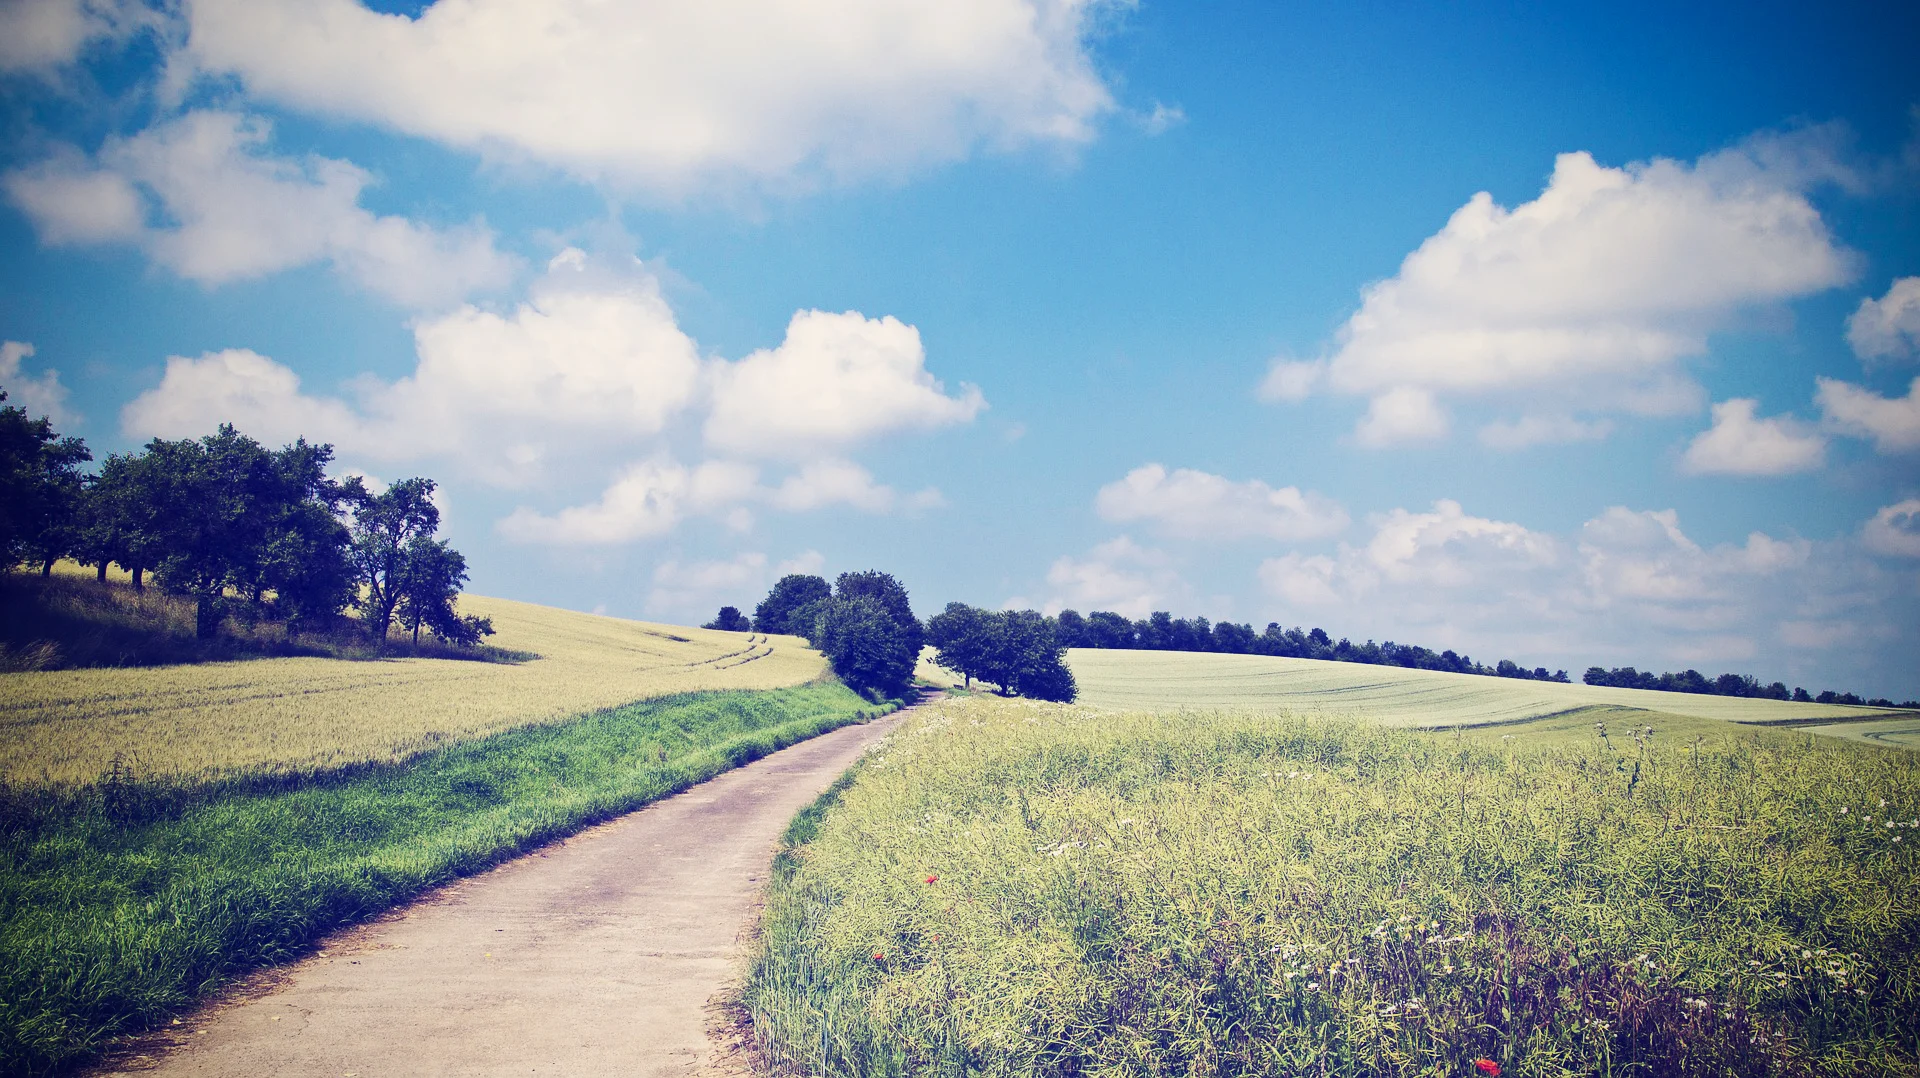
You did it! Here's the final image.
Filter 3 - Reyes
This filter gives your image a washed out vintage look by reducing the color and contrast.
Step 1 - Decrease the Contrast
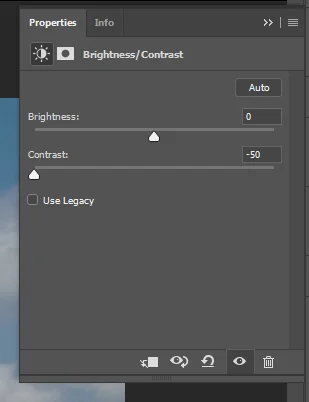
First we need to adjust the Brightness/Contrast. Go to the top navigation and click on Image>Adjustments>Brightness/Contrast. Set the Contrast to -50 and click OK. Next, we need to duplicate that layer. To do this press CTRL+J. Doing this should completely wash out the image. We're going to fix that in the next step.
Step 2 - Add Vibrance
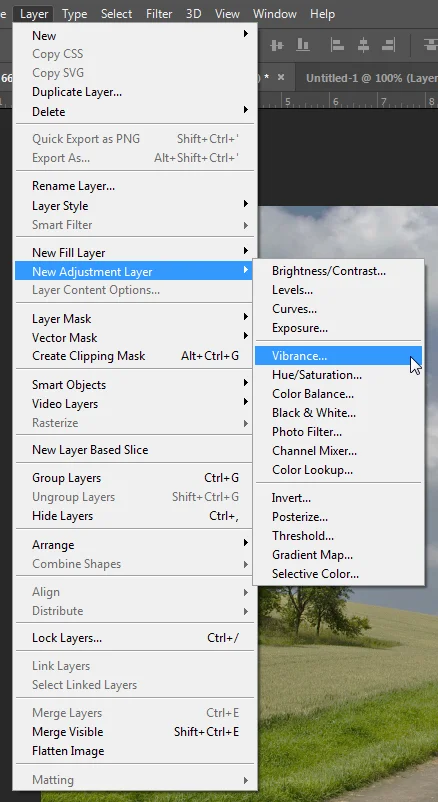
Now we need to add some color back into our image. Go to the top navigation and click on Layer>New Adjustment Layer>Vibrance.
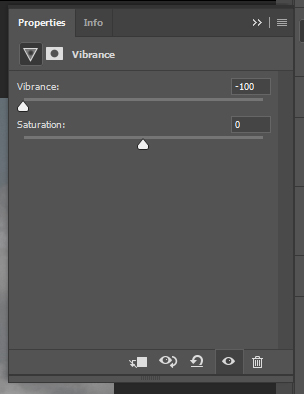
The Vibrance property panel should open. Under Vibrance, move the slider all the way down to -100. You should begin to notice the difference.
Step 3 - Adding Warmth
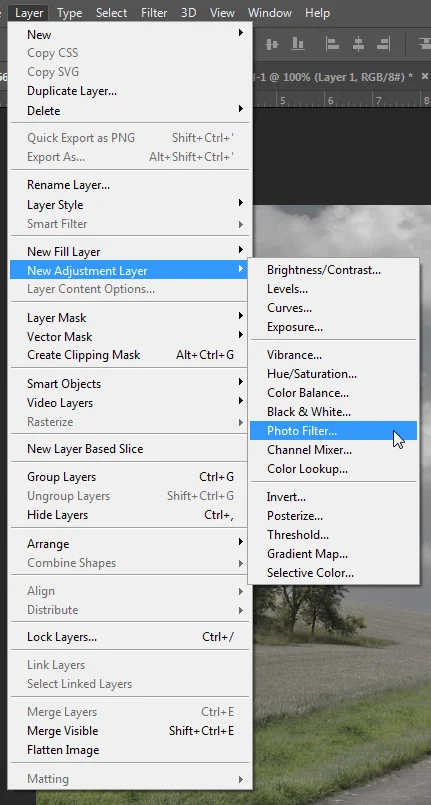
Next, we need to add some warmth to our image. To do this, go to the top navigation click on Layer>New Adjustment Layer>Photo Filter.
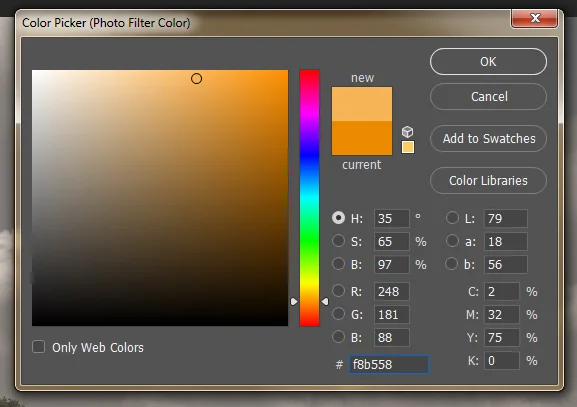
The color picker window should open. Enter in the following hex code next to the #: f8b558 and click OK. This will add a warm yellow to the image.
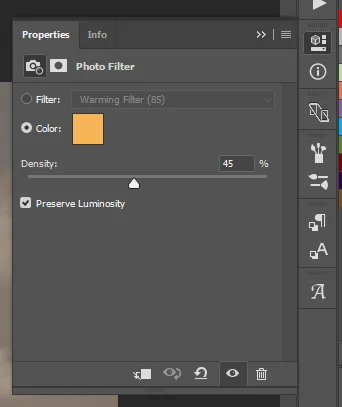
In the properties panel, change the density to 45%. The percentage amount is completely up to you depending on how much warmth you want.
Step 4 - Increasing the Brightness
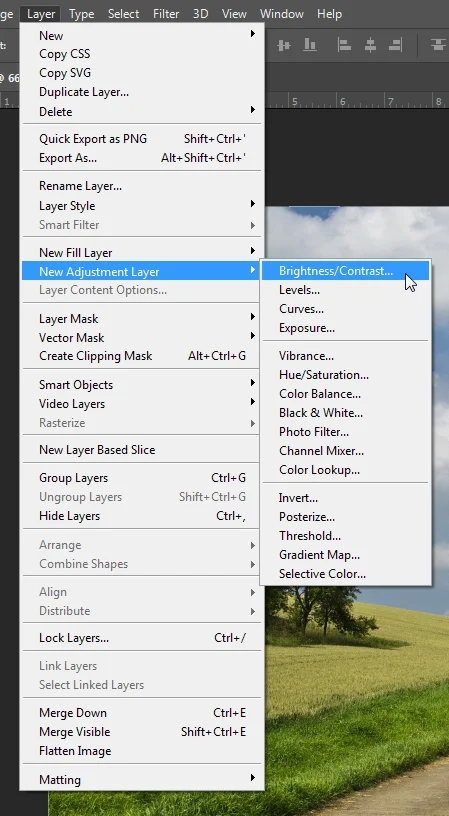
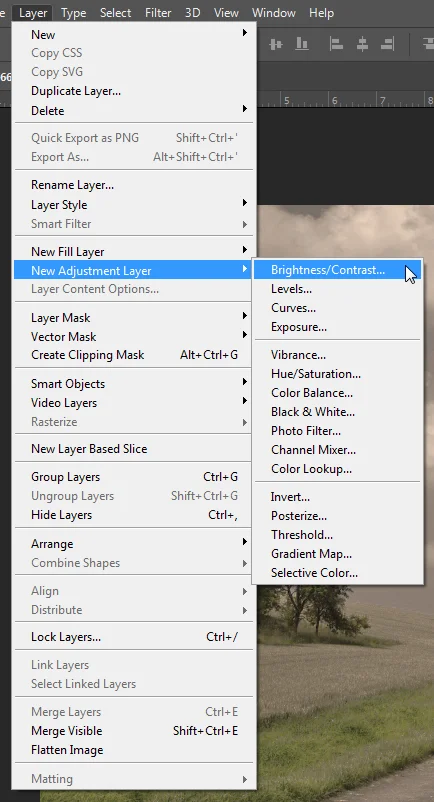
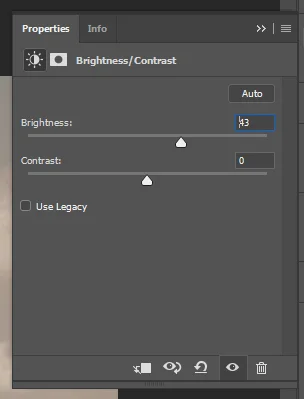
Finally, we need to adjust the Brightness. To do this, go to the top navigation and click on Layer>New Adjustment Layer>Brightness/Contrast.
In the Brightness/Contrast panel, change the Brightness anywhere from 40-110. Again, the amount you want is dependant on the image you're using.
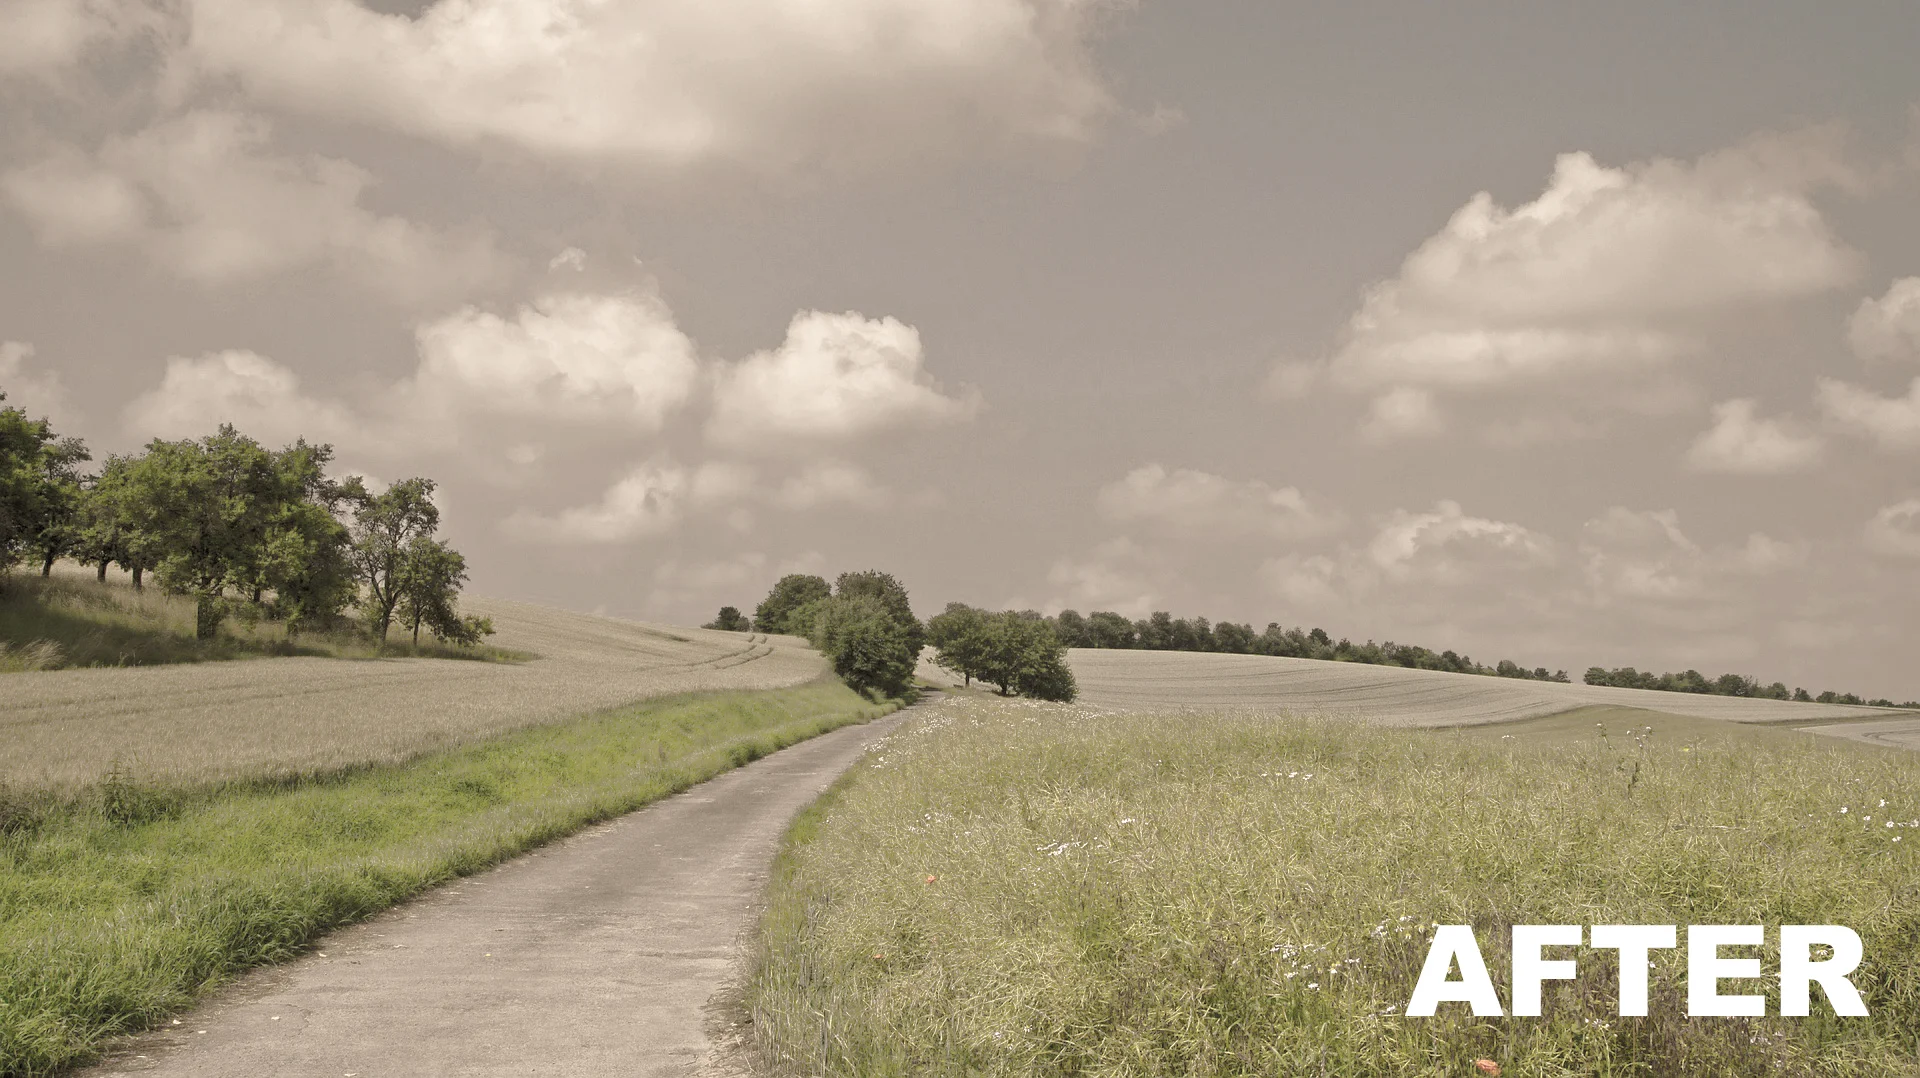
The Final Product
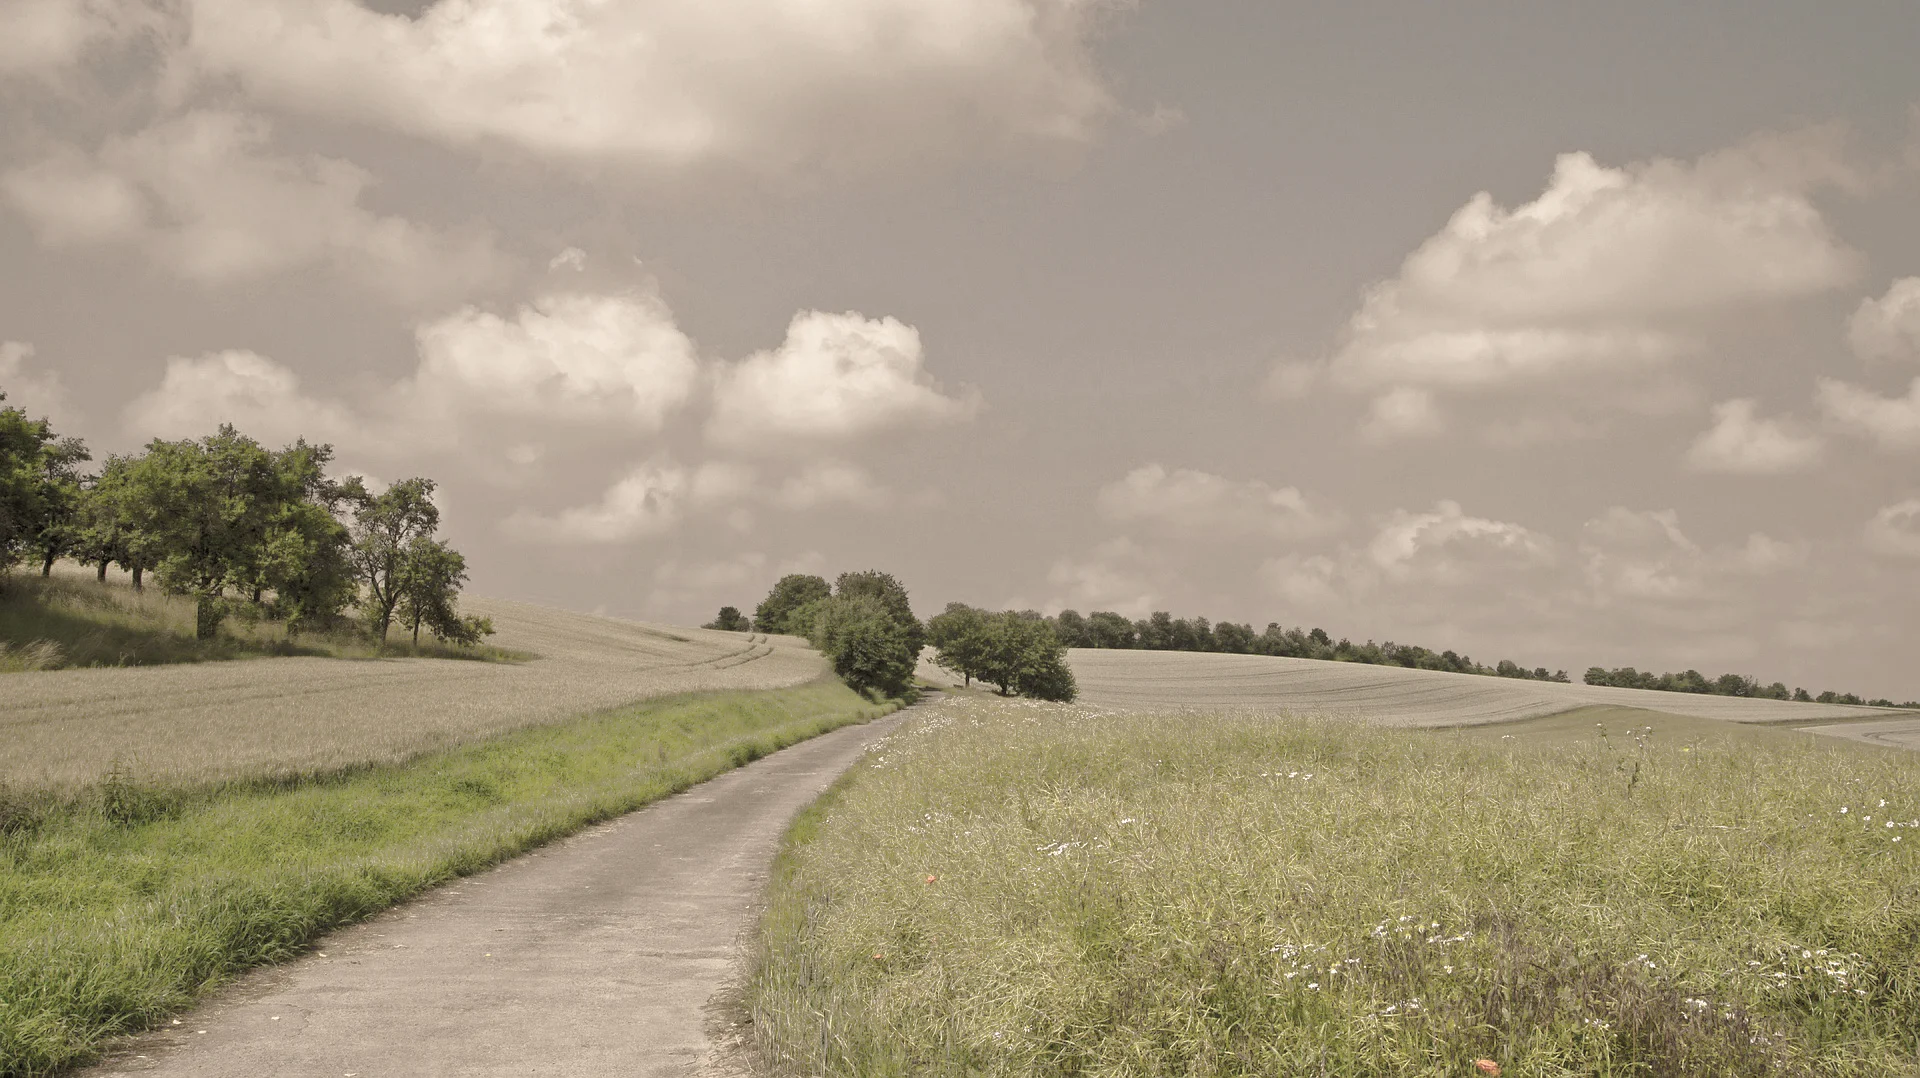
Great job! Here's the final dusty-washed out image.
I really hope you enjoyed these 3 tutorials and they were easy to follow along with. Photoshop has so many cool features and there's always more than one way to achieve the same look. Feel free to play around with your adjustment modes and enjoy!
-Jess