
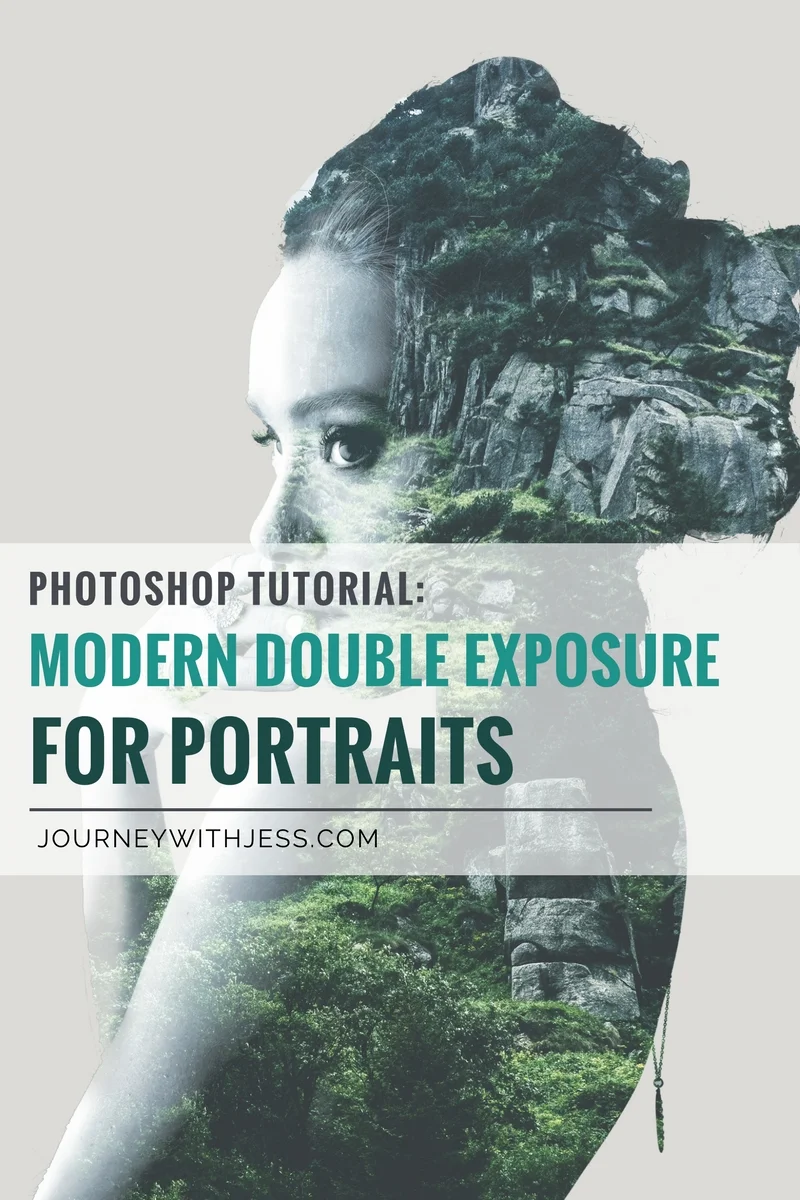
Photoshop Tutorial: Modern Double Exposure for Portraits
Double exposure is created by using 2 separate images by combining them into 1 seamless photo. This is a very popular technique and can be seen in anything ranging from movie posters, album cover art, magazines etc. I am very excited to teach you how to create this simple but effective design using Adobe Photoshop, a nature landscape image & a head shot portrait. This tutorial will include a simple step-by-step process resulting in this beautiful double exposure effect.

Even if you're a Photoshop veteran or completely new to the program, I will carefully walk you through each step and show you how to use both blending modes & clipping masks quickly and efficiently.
Once you've completed all the steps, feel free to go back in to your layers to freshen up, tone or add more color to your liking. This is merely a guideline to get you from point A to B, anything and everything else you choose to do is 100% your decision!
Let's get started!
**You can click on any image to enlarge it.

Find & Prepare Your Photo
Step 1
For this project, I went to allthefreestock.com to search for a stock portrait photo. You can use any photo you like, but be sure to select one with a neutral blank background, preferably white or grey. This will make it a lot easier to isolate the background image from the foreground portrait. I selected a photo of this young woman and made sure my particular model had a few fly away hairs. You might be thinking, "won't this make it more difficult?" and you would absolutely be right, but I wanted to show you how to apply this technique to an image of someone with longer messy hair.
Step 2
Before you do anything make sure to DUPLICATE YOUR FIRST LAYER so you can revert back just in case you make a mistake. This isn't a necessary step, but it's a step I always make sure to do just in case. You can lock your original layer so you don't accidentally work off of it. I've definitely learned this the hard way.
Now that you're working off of your duplicated layer, we need to adjust the Brightness and Contrast level. To do this go to Image > Adjustment > Levels (Control+L) from the top menu bar. Move the left slider to 7 (Black), the middle to 1.15 (Grey) and 197 (White). Then click OK. If you see that the image is either too dark or white, feel free to adjust accordingly.
Step 3
Now we need to isolate the background. Since you've already selected a photo with a neutral background, this is super simple to achieve. Select the Magic Wand Tool (W) and click anywhere on the background. You portrait should be selected by dancing ants. If not, then go up to the top tool bar and find Tolerance and change it to a higher number. I had mine set to 15 because my background wasn't completely a solid color.
Once your image is selected by the dancing ants, go to Select > Inverse (Right Click) to ensure your figure and not the background has been selected.
Step 4
While you still have your Magic Wand Tool (W), navigate to the top tool bar and locate Select and Mask and click it.
A property window to the right will open. Locate the Edge Detection Radius and set it to 1.5 or 2. This will make the edges less rigid allowing for minor details to appear; this is ideal for fly away hair. Navigate down to the Output Setting and click the drop down and select New Layer with Layer Mask. This will automatically create a copy of your image with a Clipping Mask.
Feel free to play around with the Edge Detection option, making the edges smoother or more blurred. This comes in handy when cutting out an element that is closely surrounded by another or something more complex. In minor cases, such as this project, the current selection chosen will work just fine.
Step 5
Create a brand new layer under the Clipping Mask layer and fill it with a grey color (#dcdbd9) using the Paint Bucket Tool (G). Doing this will make the entire background the solid grey color. Don't like the grey? No problem. Play around with colors that work best for your subject.
Creating the Double Exposure
Step 1
Now it's time to find a background image that will work best for your particular photo. When searching for a photo, be sure to keep your portrait's composition in mind. Your double exposure shot can be anything you want it to be, a mountain landscape, a field of flowers, a city skyline or even something abstract. The more detail in your double exposure photo, the better the result will be. For this project, I used this photo of a misty forested mountain I found at allthefreestock.com.
Step 2
Open your photo in Photoshop and place it above the Portrait & Clipping Mask Layer. While still having the forest layer selected, press and hold the Control Key and click on the Layer Clipping Mask of the portrait below. You should see the silhouette of your portrait selected via the dancing ants.
Step 3
Before you do anything else, navigate to the bottom of your Layers Panel and click the Add Layer Mask button (it looks like a square with a hole in the middle).
Adding this Layer Mask will create a full silhouetted version of your portrait from your background photo. Pretty cool hu?
Step 4
Now that we have our silhouetted version, we'll need to create a copy of the Cutout Portrait in order to edit it further. Select the layer that contains the Cutout Portrait & Clipping Mask, right click & select Duplicate Layer (Control+J). This will place it above the cutout forest layer so you have access to edit the portrait.
Let's make our portrait black & white so it will match within our forested scene. Make sure the portrait layer is selected then go to Image > Adjustments > Desaturate (Shift-Control-U). This will convert the portrait image from color to monochromatic.
Step 5
The most effective way to achieve this double exposure technique is to make certain areas of your portrait darker than others. To do this, open the Levels (Control-L) window and slide the far left slider to around the 117 mark.
Next we'll apply a bit of color. Go to Image > Adjustments > Hue/Saturation. Be sure to click the Colorize checkbox in the bottom right corner of the Hue/Saturation window. Set the Hue value to 212, either by sliding the slider or typing in the box. This will add a blue tint to your image. Then set the Saturation level to 10, decreasing how bright the blue appears then click OK.
Very cool!
Step 6
While still on the Portrait Hue Layer, go to the top drop down box at the top of the layers panel and select the Screen mode. You should immediately see your image begin to take shape.
We're in the home stretch so hang in there!
Step 7
Select the Brush Tool (B) and find any of the Airbrush Soft Brushes from the Standard Round Brush Sizes (from the drop down brush menu or in the Brushes (F5) window).
Select the forest Layer Mask layer, set the fill to White (#FFFFFF) and carefully begin painting softly over any parts you want to white out. Personally, I painted over any of the white/lighter areas to make them stand out more. Again, this is personal preference and you can always undo something you don't like.
Step 8
As you can see, her face and especially the eyes are slightly hidden and appear muddy within the noisy background. Let's give our image a bit more depth and contrast to make these feature pop.
Create a New Layer under the Desaturated portrait, select the Brush Tool (B) and switch the color to one of the darkest colors found in your background image. You can take a sampling of it by using the Eyedropper Tool (I). I've selected a dark green color (#3e4849).
Carefully paint over any features you want to give depth to. I painted over the eyes, the eyebrows, lips and highlighted the cheekbone and nose to make them more defined.
Step 9
It's time to finish off our image. Select the Desaturated Portrait Layer once more and click Add Layer Mask by selecting the mask icon at the bottom of the layers panel (the square with a circle in the middle).
Select the Brush Tool (B) and change the Fill to black (#000000). This will allow you to paint over any of the white parts you want to omit.
For reference, I painted over her neck, any jewelry and switched the Opacity to 25% and painted over a section of her arm. This allows the portrait to appear as if it is popping out from the background.
Yay! You're All Done!
That wasn't so hard was it? Haha I'm totally kidding. It takes a lot of practice to perfect the art of Photoshop and I've had many years of experience. Don't get discouraged if your image doesn't come out as well as you hoped, just keep at it and I'm promise you'll figure it out. Just remember, there is also more than one way to achieve this effect, I wanted to show you what worked best for me.
BEFORE
AFTER
I really hope you enjoyed this tutorial, it was easy to follow along and that you learned something new! If you've decided to tackle this project on your own, I would LOVE to see your creations. Also, if you have any questions feel free to leave me a comment. Thanks for following along and good luck!

