How to Add a Texture to Your Text in Photoshop

Adding texture to text is a great way to create depth and give more dimension to a flat image. This is also a great way to draw your attention to any header text you want to showcase. In this post, I’ll go through super easy step by step instructional tutorial that you can follow along in Photoshop to create this simple but successful effect.
QUICK ANNOUNCEMENT
Before we dive into the tutorial, I am super excited to announce that my very first Creative Kit is available for purchase in my shop! This is something I’ve been working tirelessly on for a while and I can’t wait to share it with you. The first Creative Kit is called the Glitter and Shine Texture Kit and includes 70 high-resolution (3000 x 3000px) textured jpg files. Each image is an original design and was handmade and created by yours truly. Some of the textures include: metallic, foil, glitter, glass, confetti, marble, shimmers, noise and more. Because of their originality, you will not find these images anywhere else.
I will be adding more to the shop in the future, but for now feel free to stop by and check out the premiere of the Glitter and Shine Texture Kit.
Ok, now on to the tutorial!
1. Create a new Photoshop document
Open up Photoshop and go to File > New > Blank File. Set it to the size of the jpg file which is 3000px by 3000px with a 300 DPI and select create.
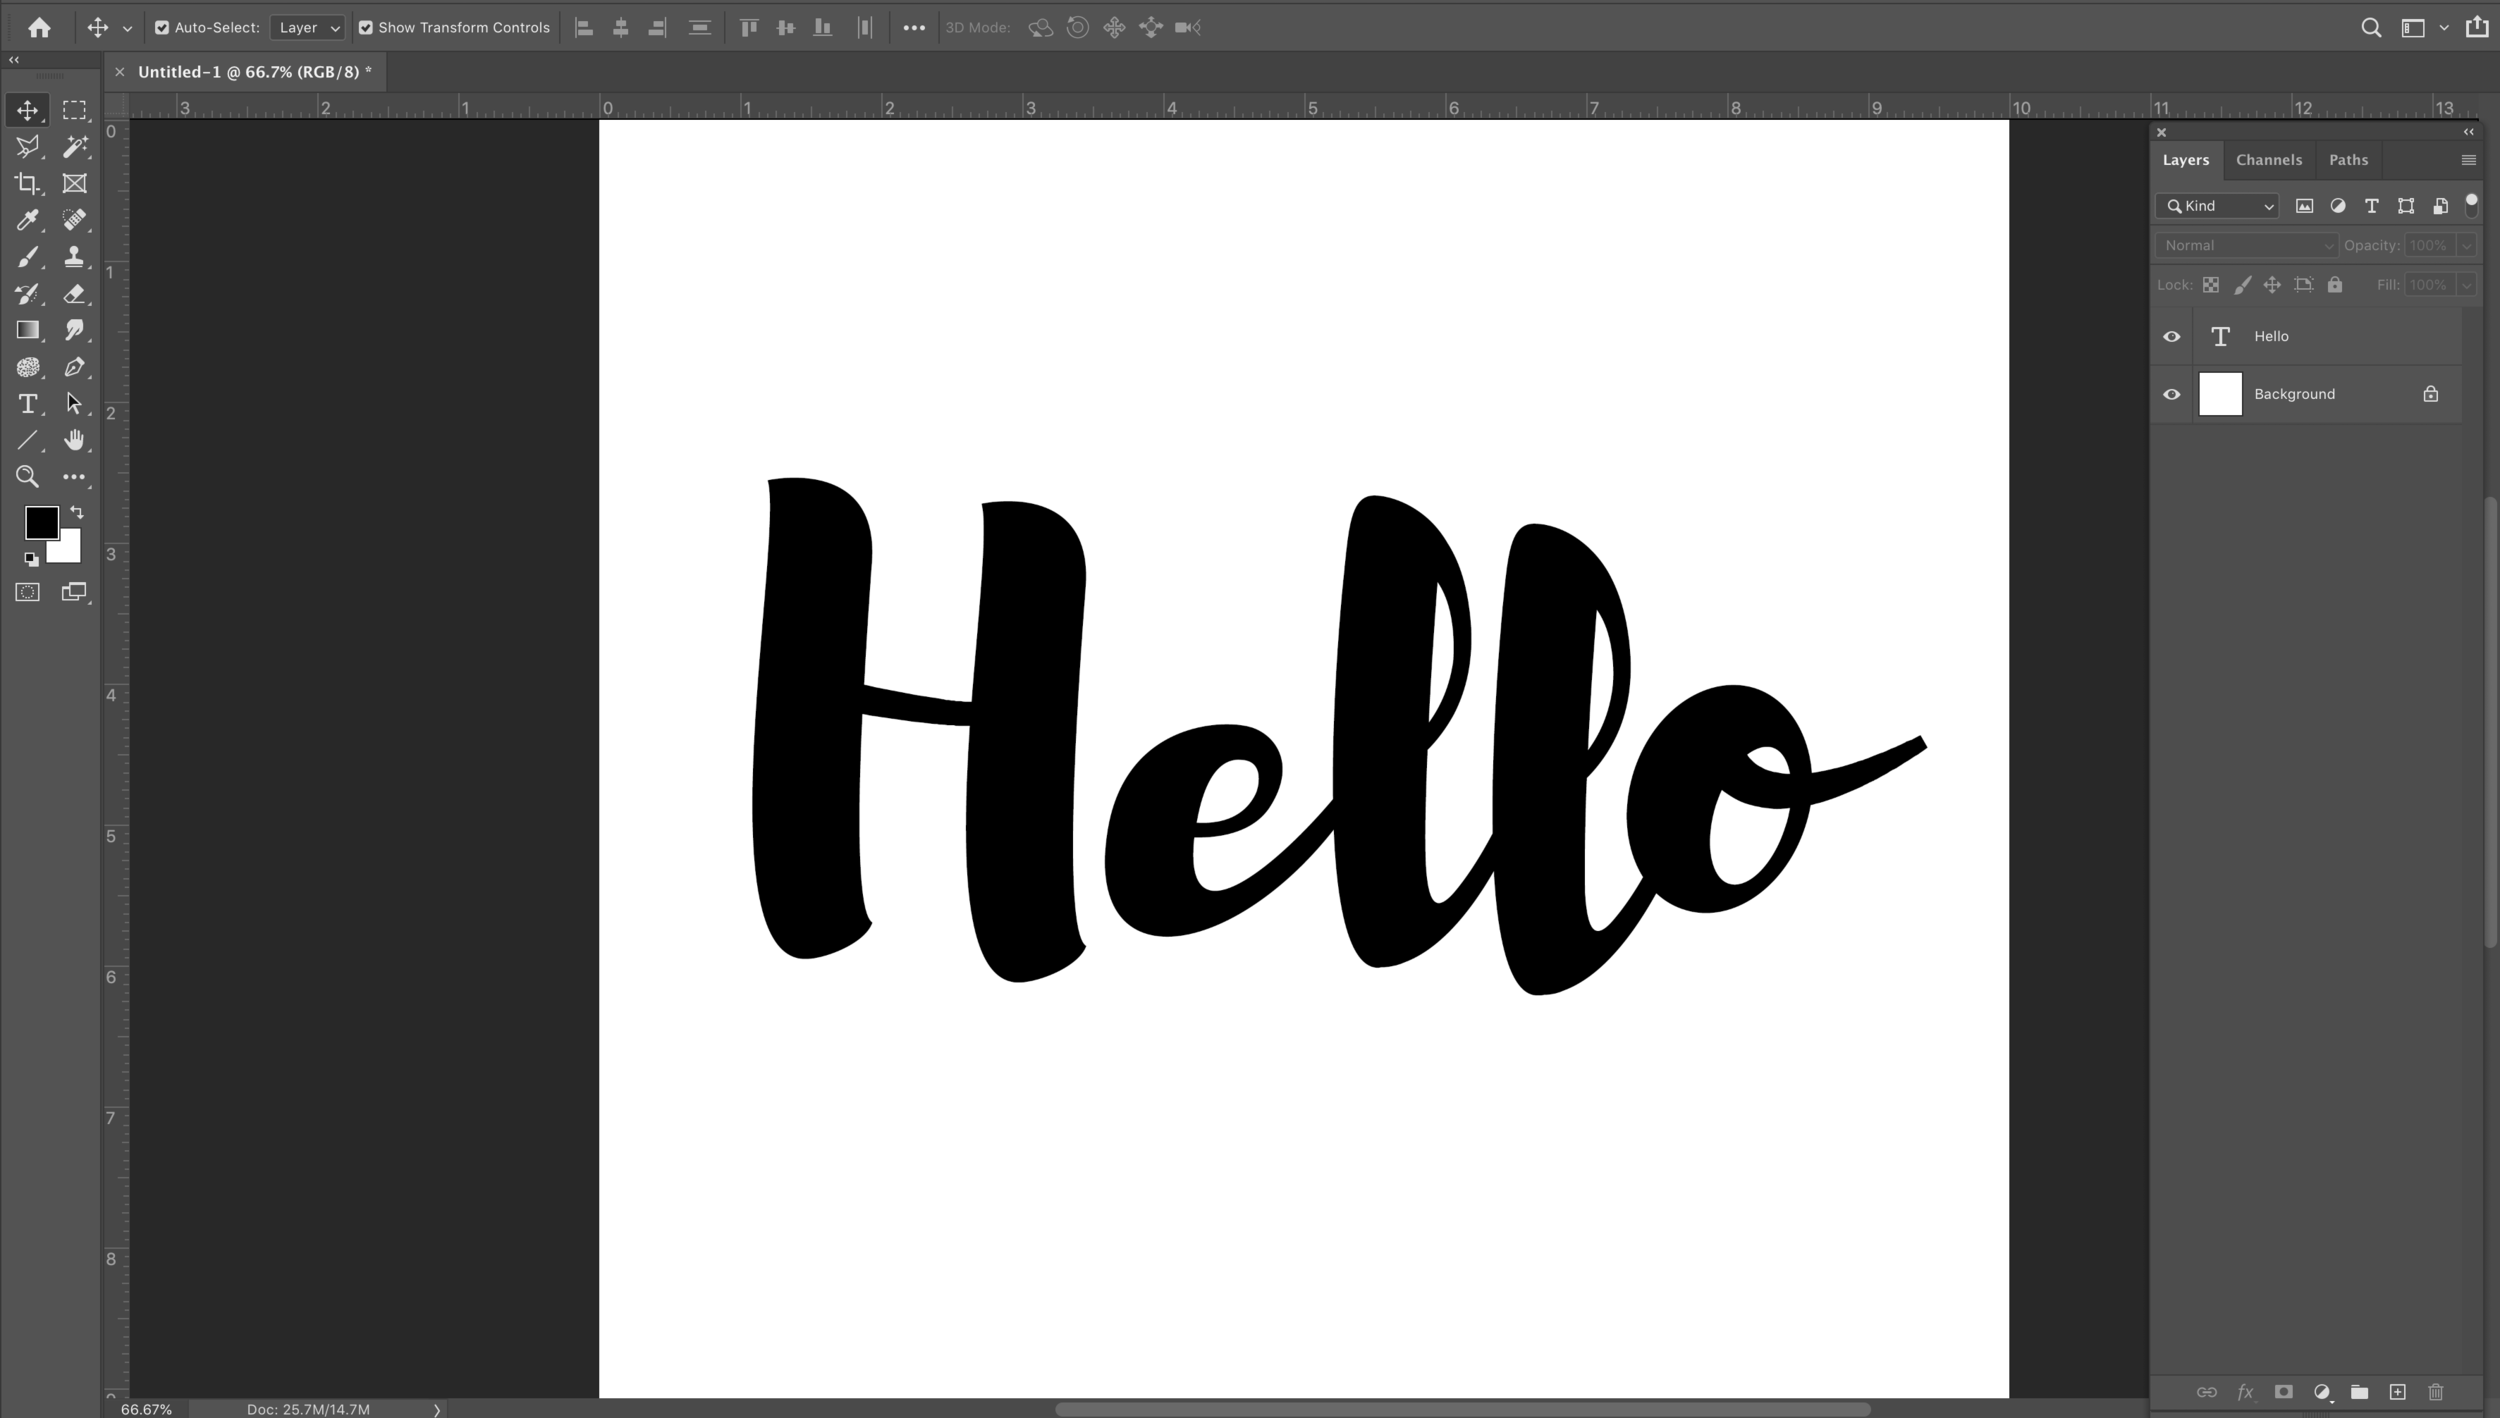
2. Type your text
Select the Type tool, choose a font and select the color black. I’m using the font Brusher which you can get download here. Click anywhere on the document and type the text you want to use.
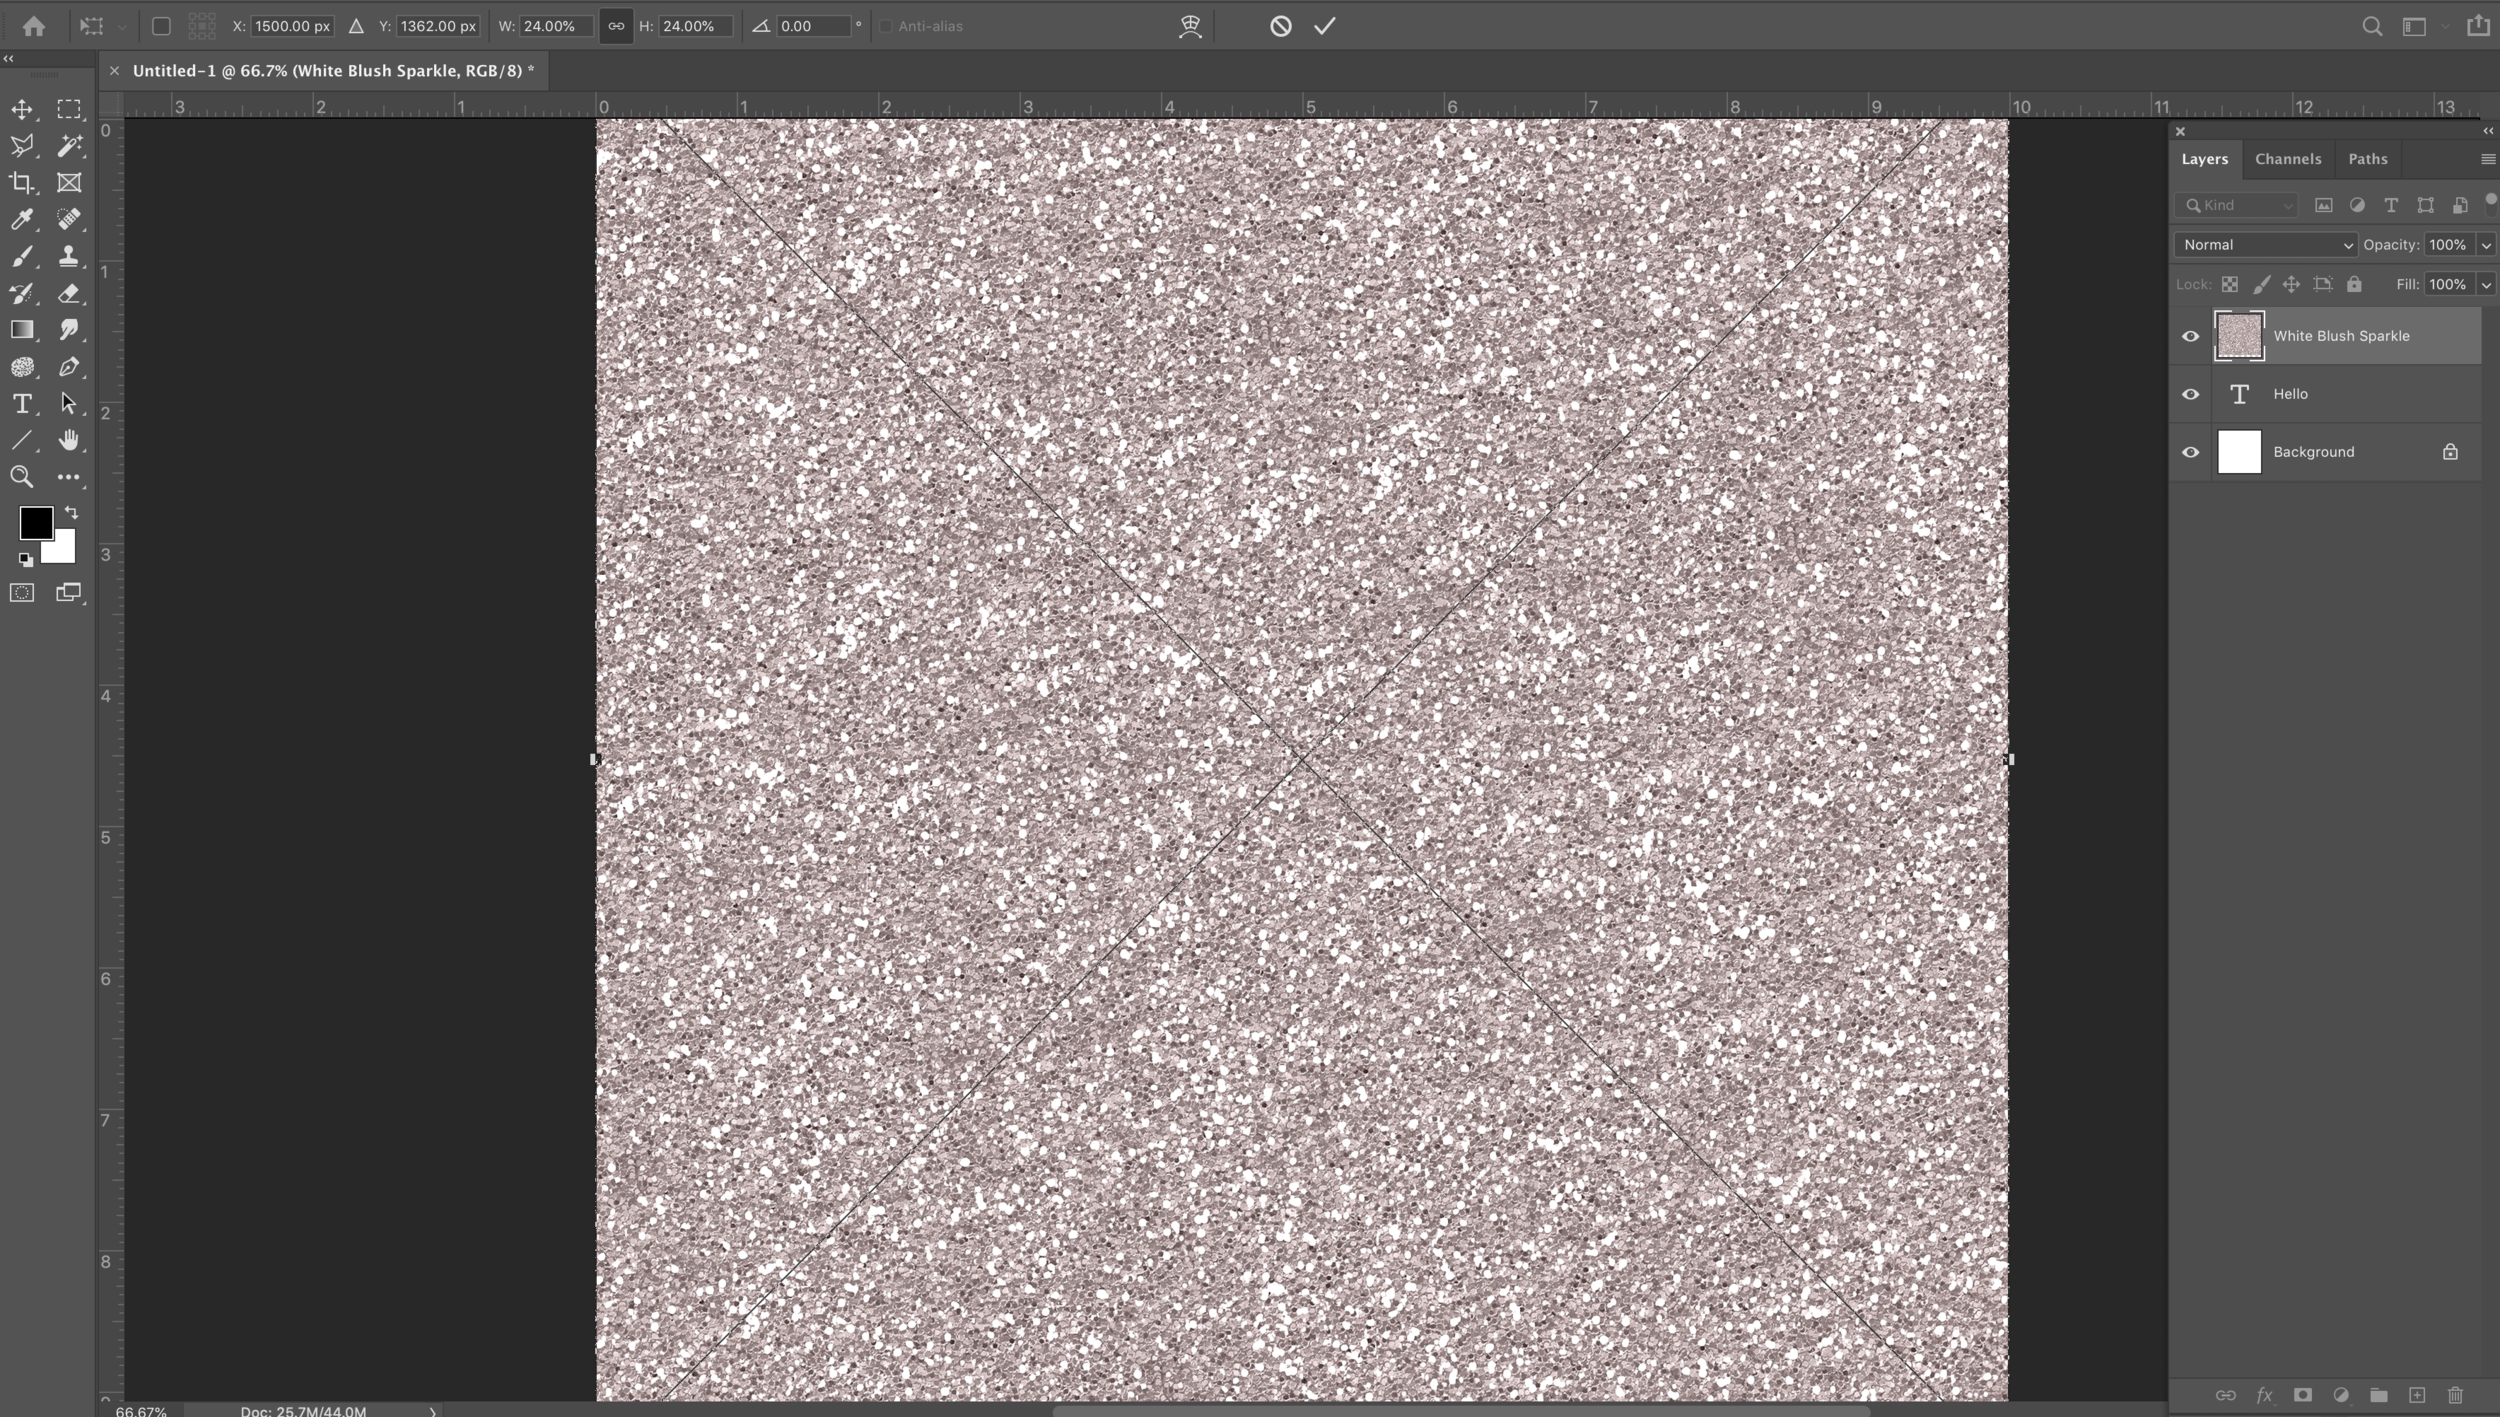
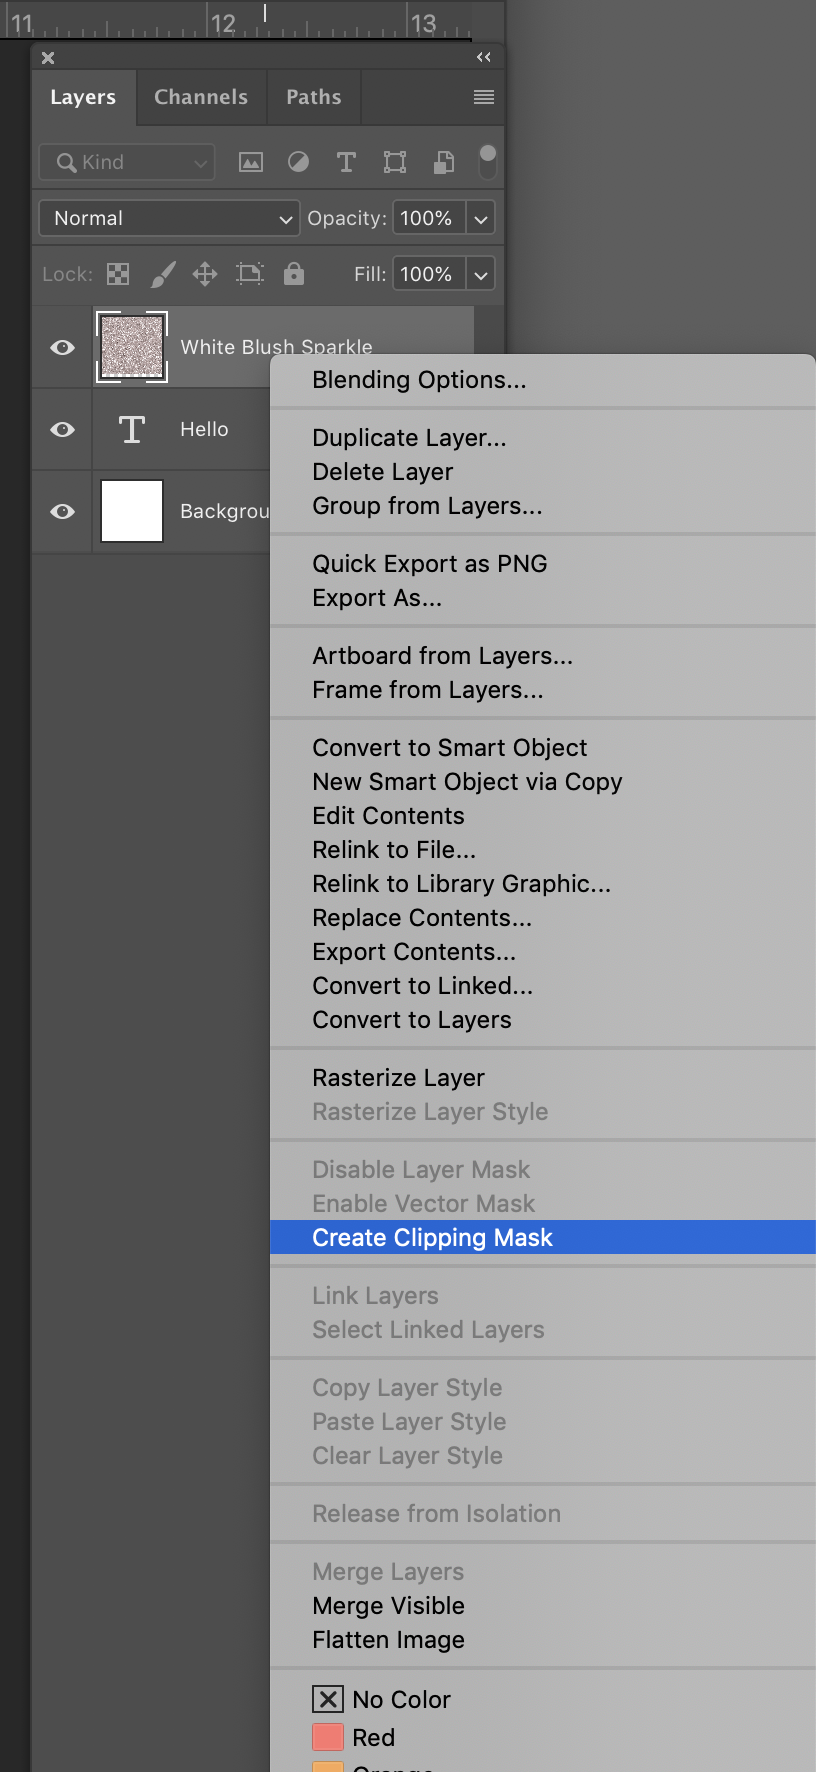
3. Add your texture
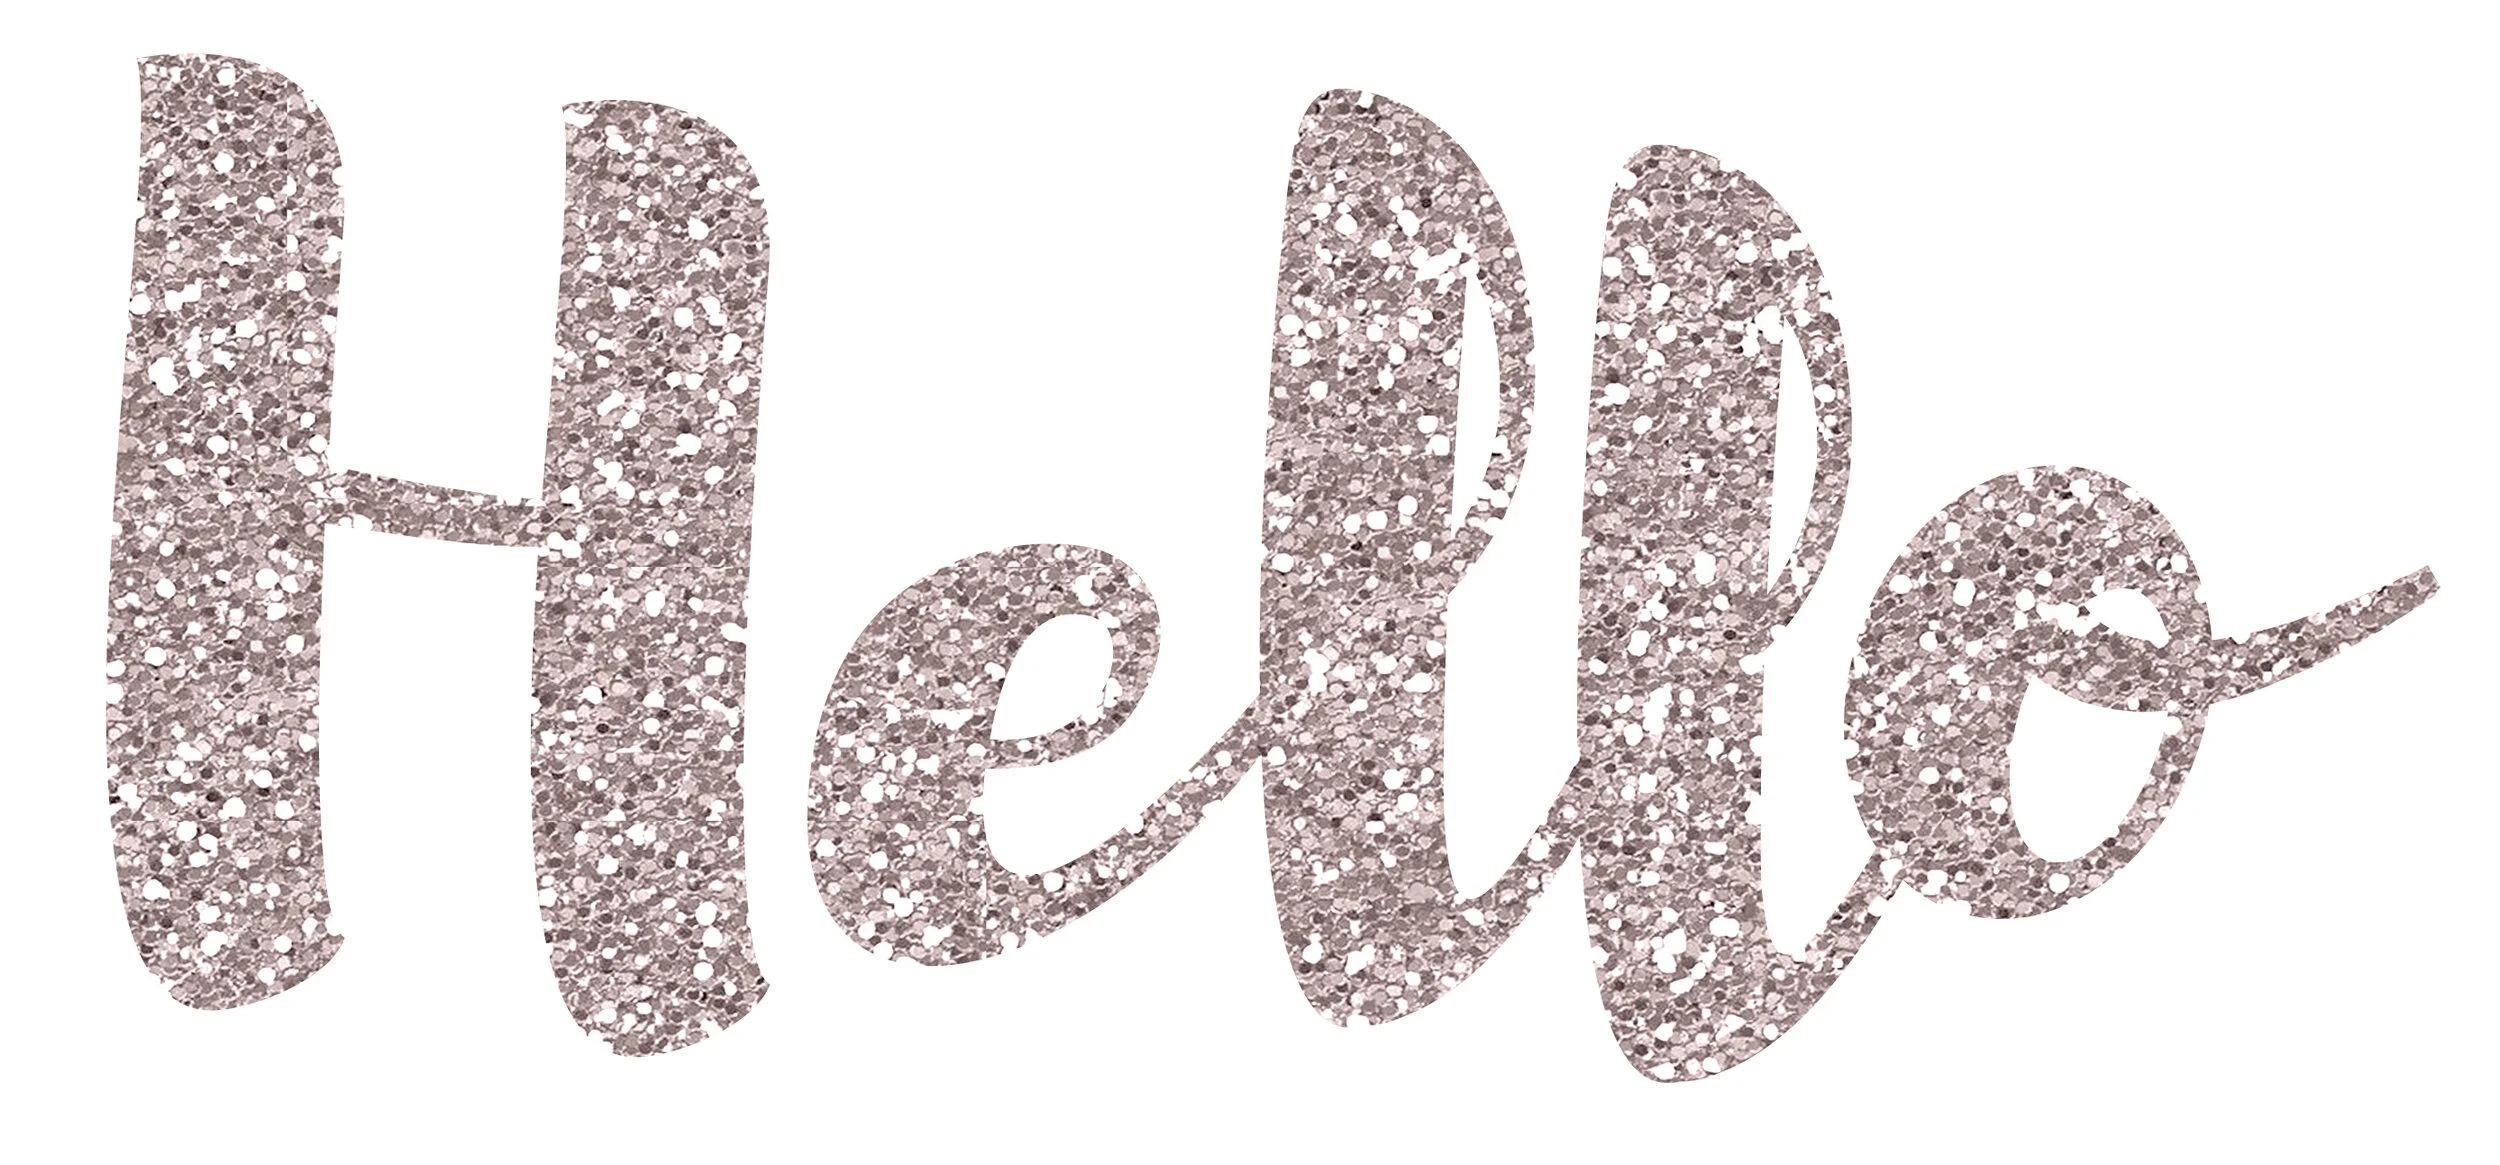
Drag your textured image directly onto the document. Be sure that you overlay the image on top of the text. In the Layers section, right click on Layer 1 (the background image) and select “Create Clipping Mask”. For this example, I’m using the texture White Blush Sparkle from my Glitter and Shine Texture Kit.
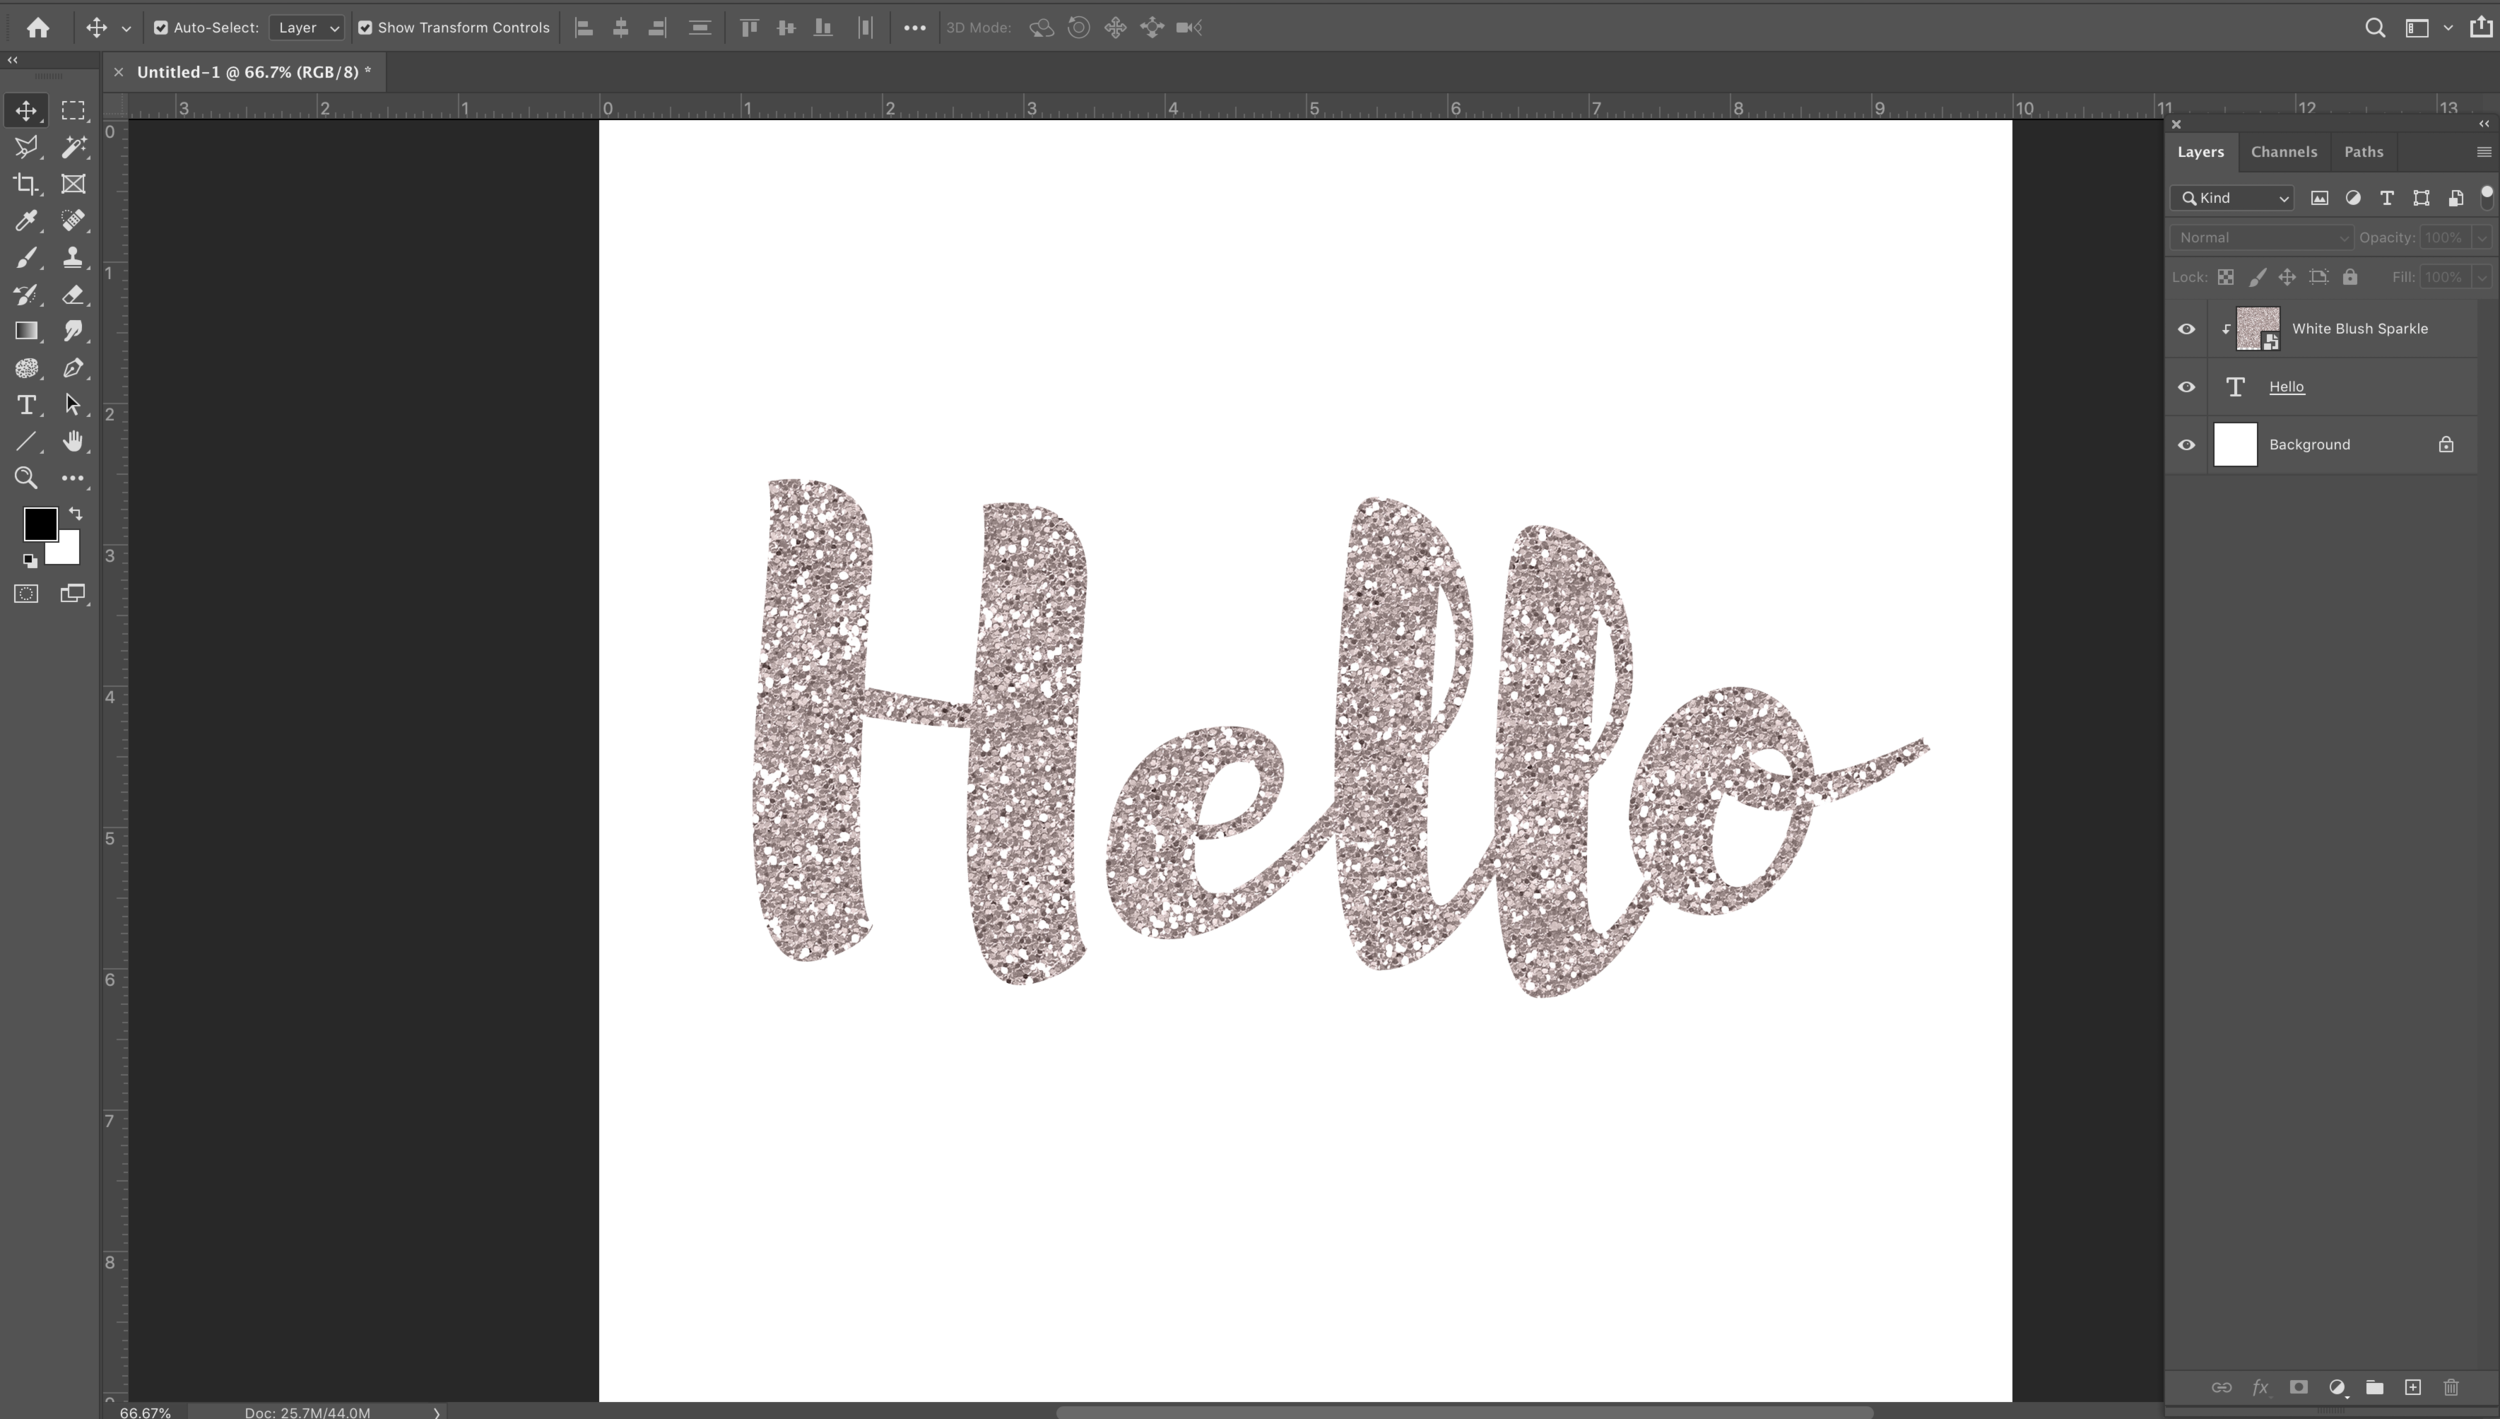
4. Final step
This last step is optional, so feel free to skip this! In the top menu go to Layer > Flatten Image. Save it and you’re finished!
This is so so simple to create and takes less than 5 minutes total! I’d love to see your results and know if you tried this tutorial for yourself. Feel free to let me know in the comments!
Again, if you’re looking for ready to use textures, my very first Creative Kit is now available for personal or professional graphic design and creative design work. Check out the Glitter and Shine Texture Kit in my shop.